§ Journal · Jun 2, 2026
Fall Yard Cleanup — Edger Blade and Trimmer Head Inspection Before the Last Push
How to inspect your edger blade and trimmer head before the final fall cleanup so your equipment finishes the season strong.
Published · Last updated:
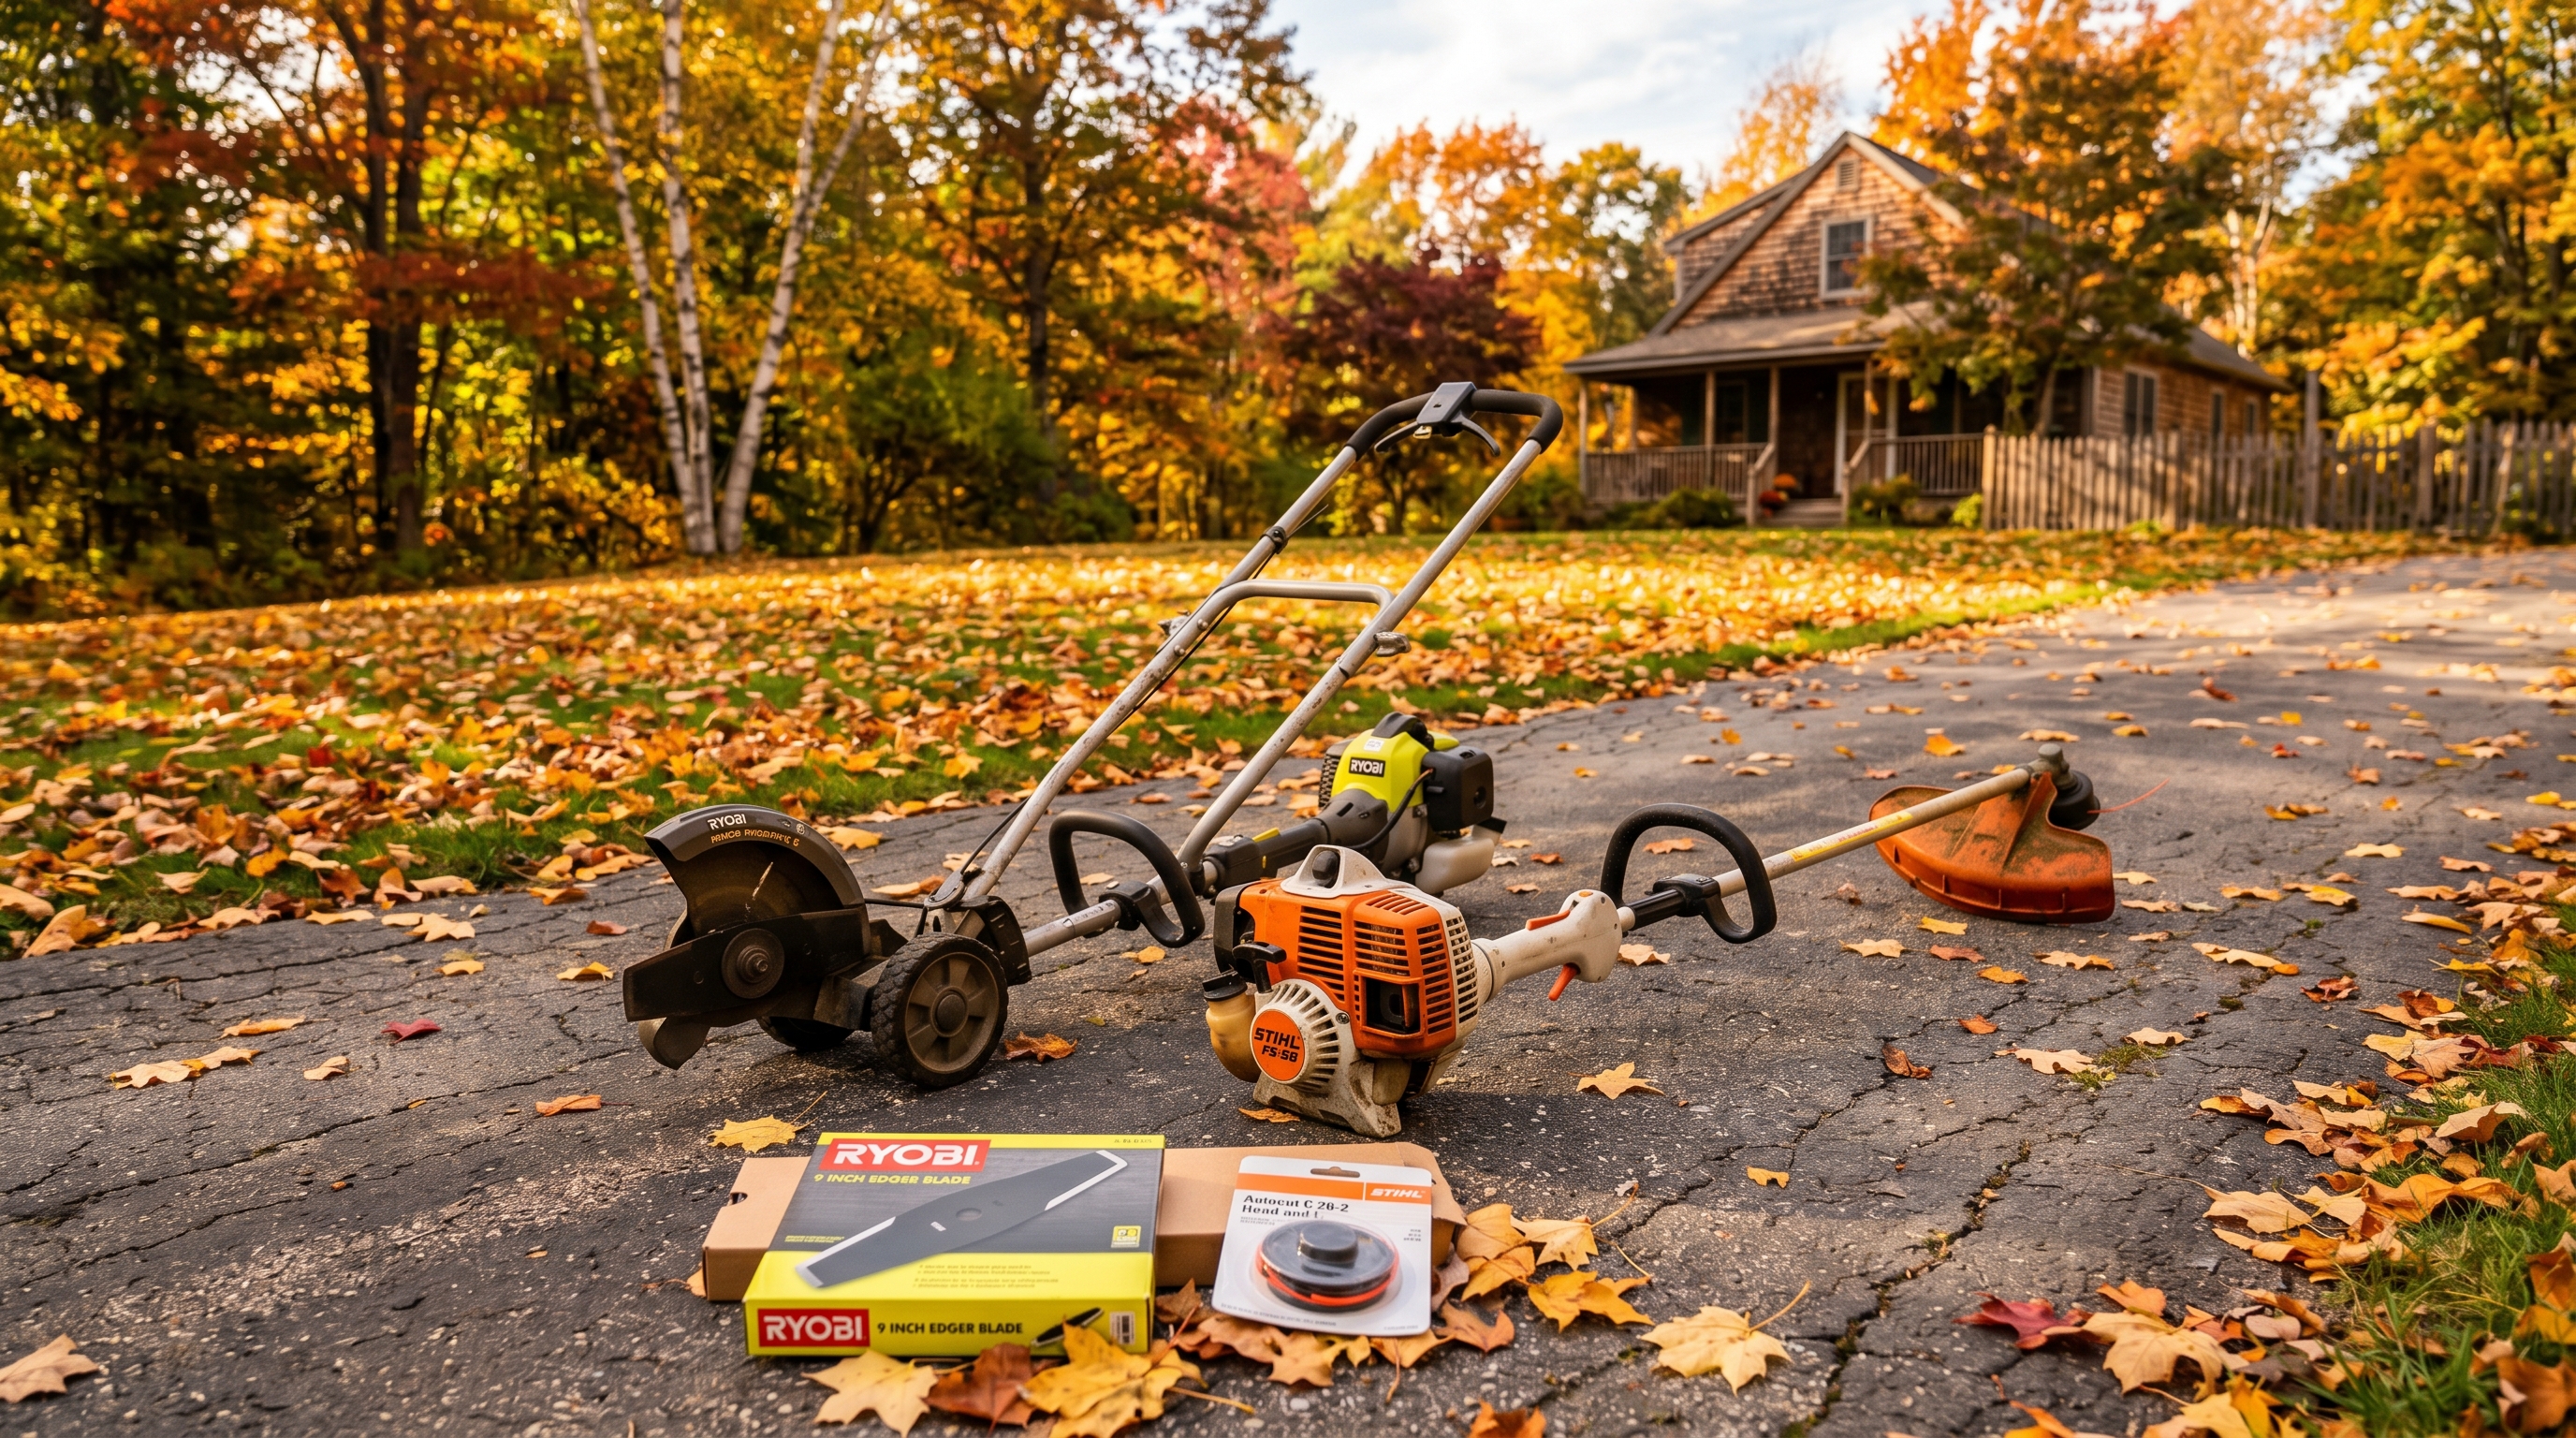
Late fall is the hardest stretch for edgers and trimmers. Leaves pile along curbs and fence lines. Debris mats down against edging borders. Overgrown grass pushes into sidewalk cracks and driveway seams after weeks of cooler-weather neglect. The final cleanup before winter is usually the biggest single-session workload these machines face all year, and it hits when the cutting parts have already absorbed a full season of wear.
Running worn equipment through that last heavy push leads to ragged results, wasted time, and parts that are more likely to fail completely. A quick inspection of the edger blade and trimmer head before the final fall session keeps the job clean and prevents storing damaged equipment that will just cause problems in the spring.
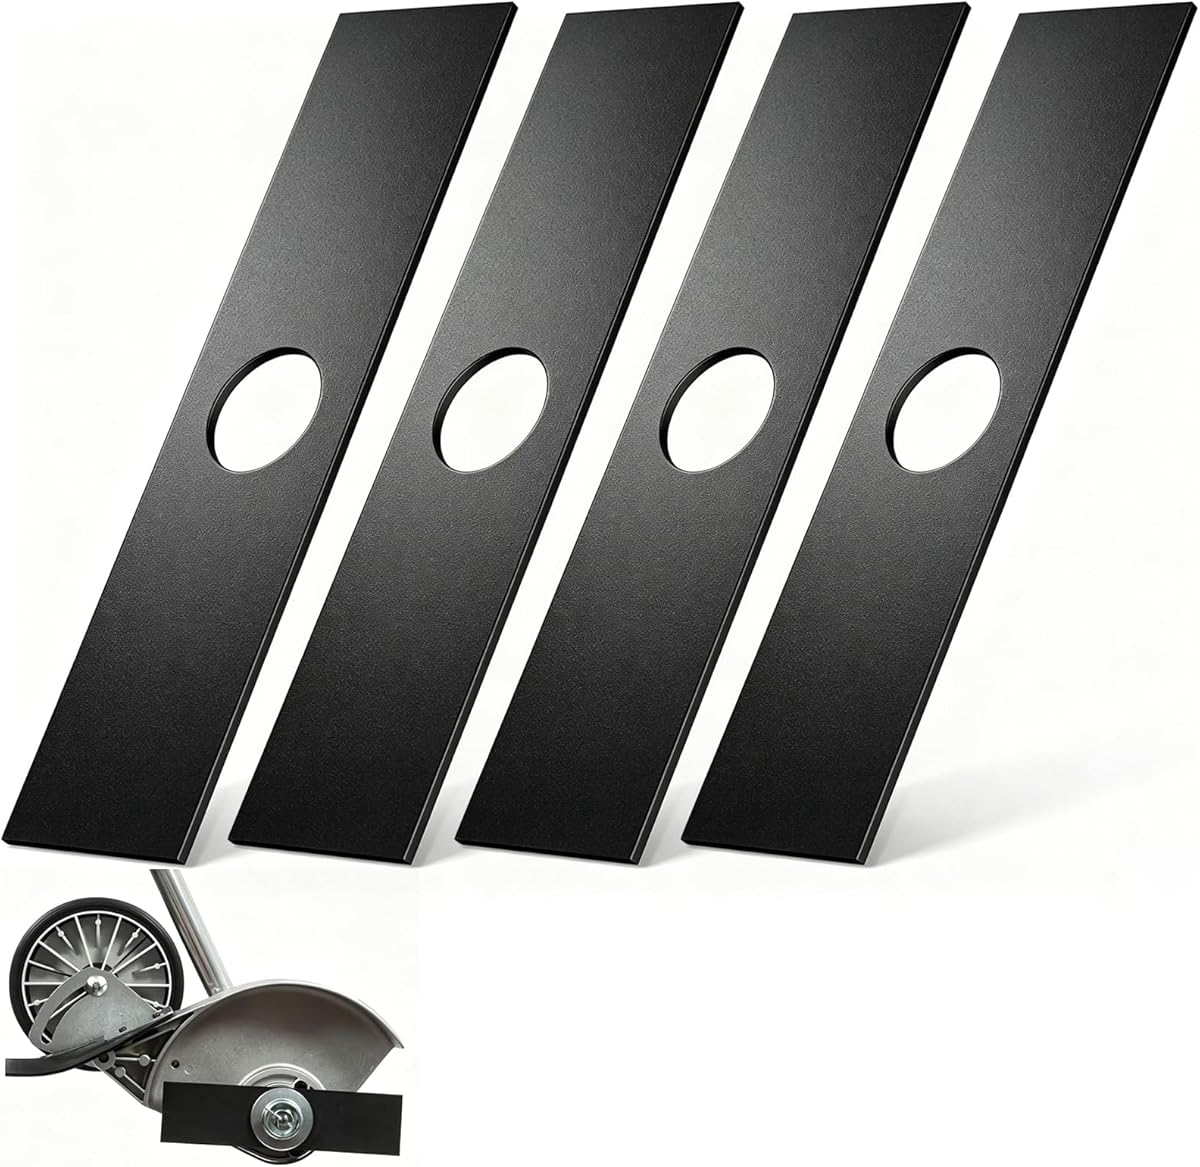
Edger Blade: What a Full Season Does
By late fall, an edger blade has cut through hundreds of feet of sod, soil, roots, and the occasional buried rock or sprinkler head. That kind of use leaves marks.
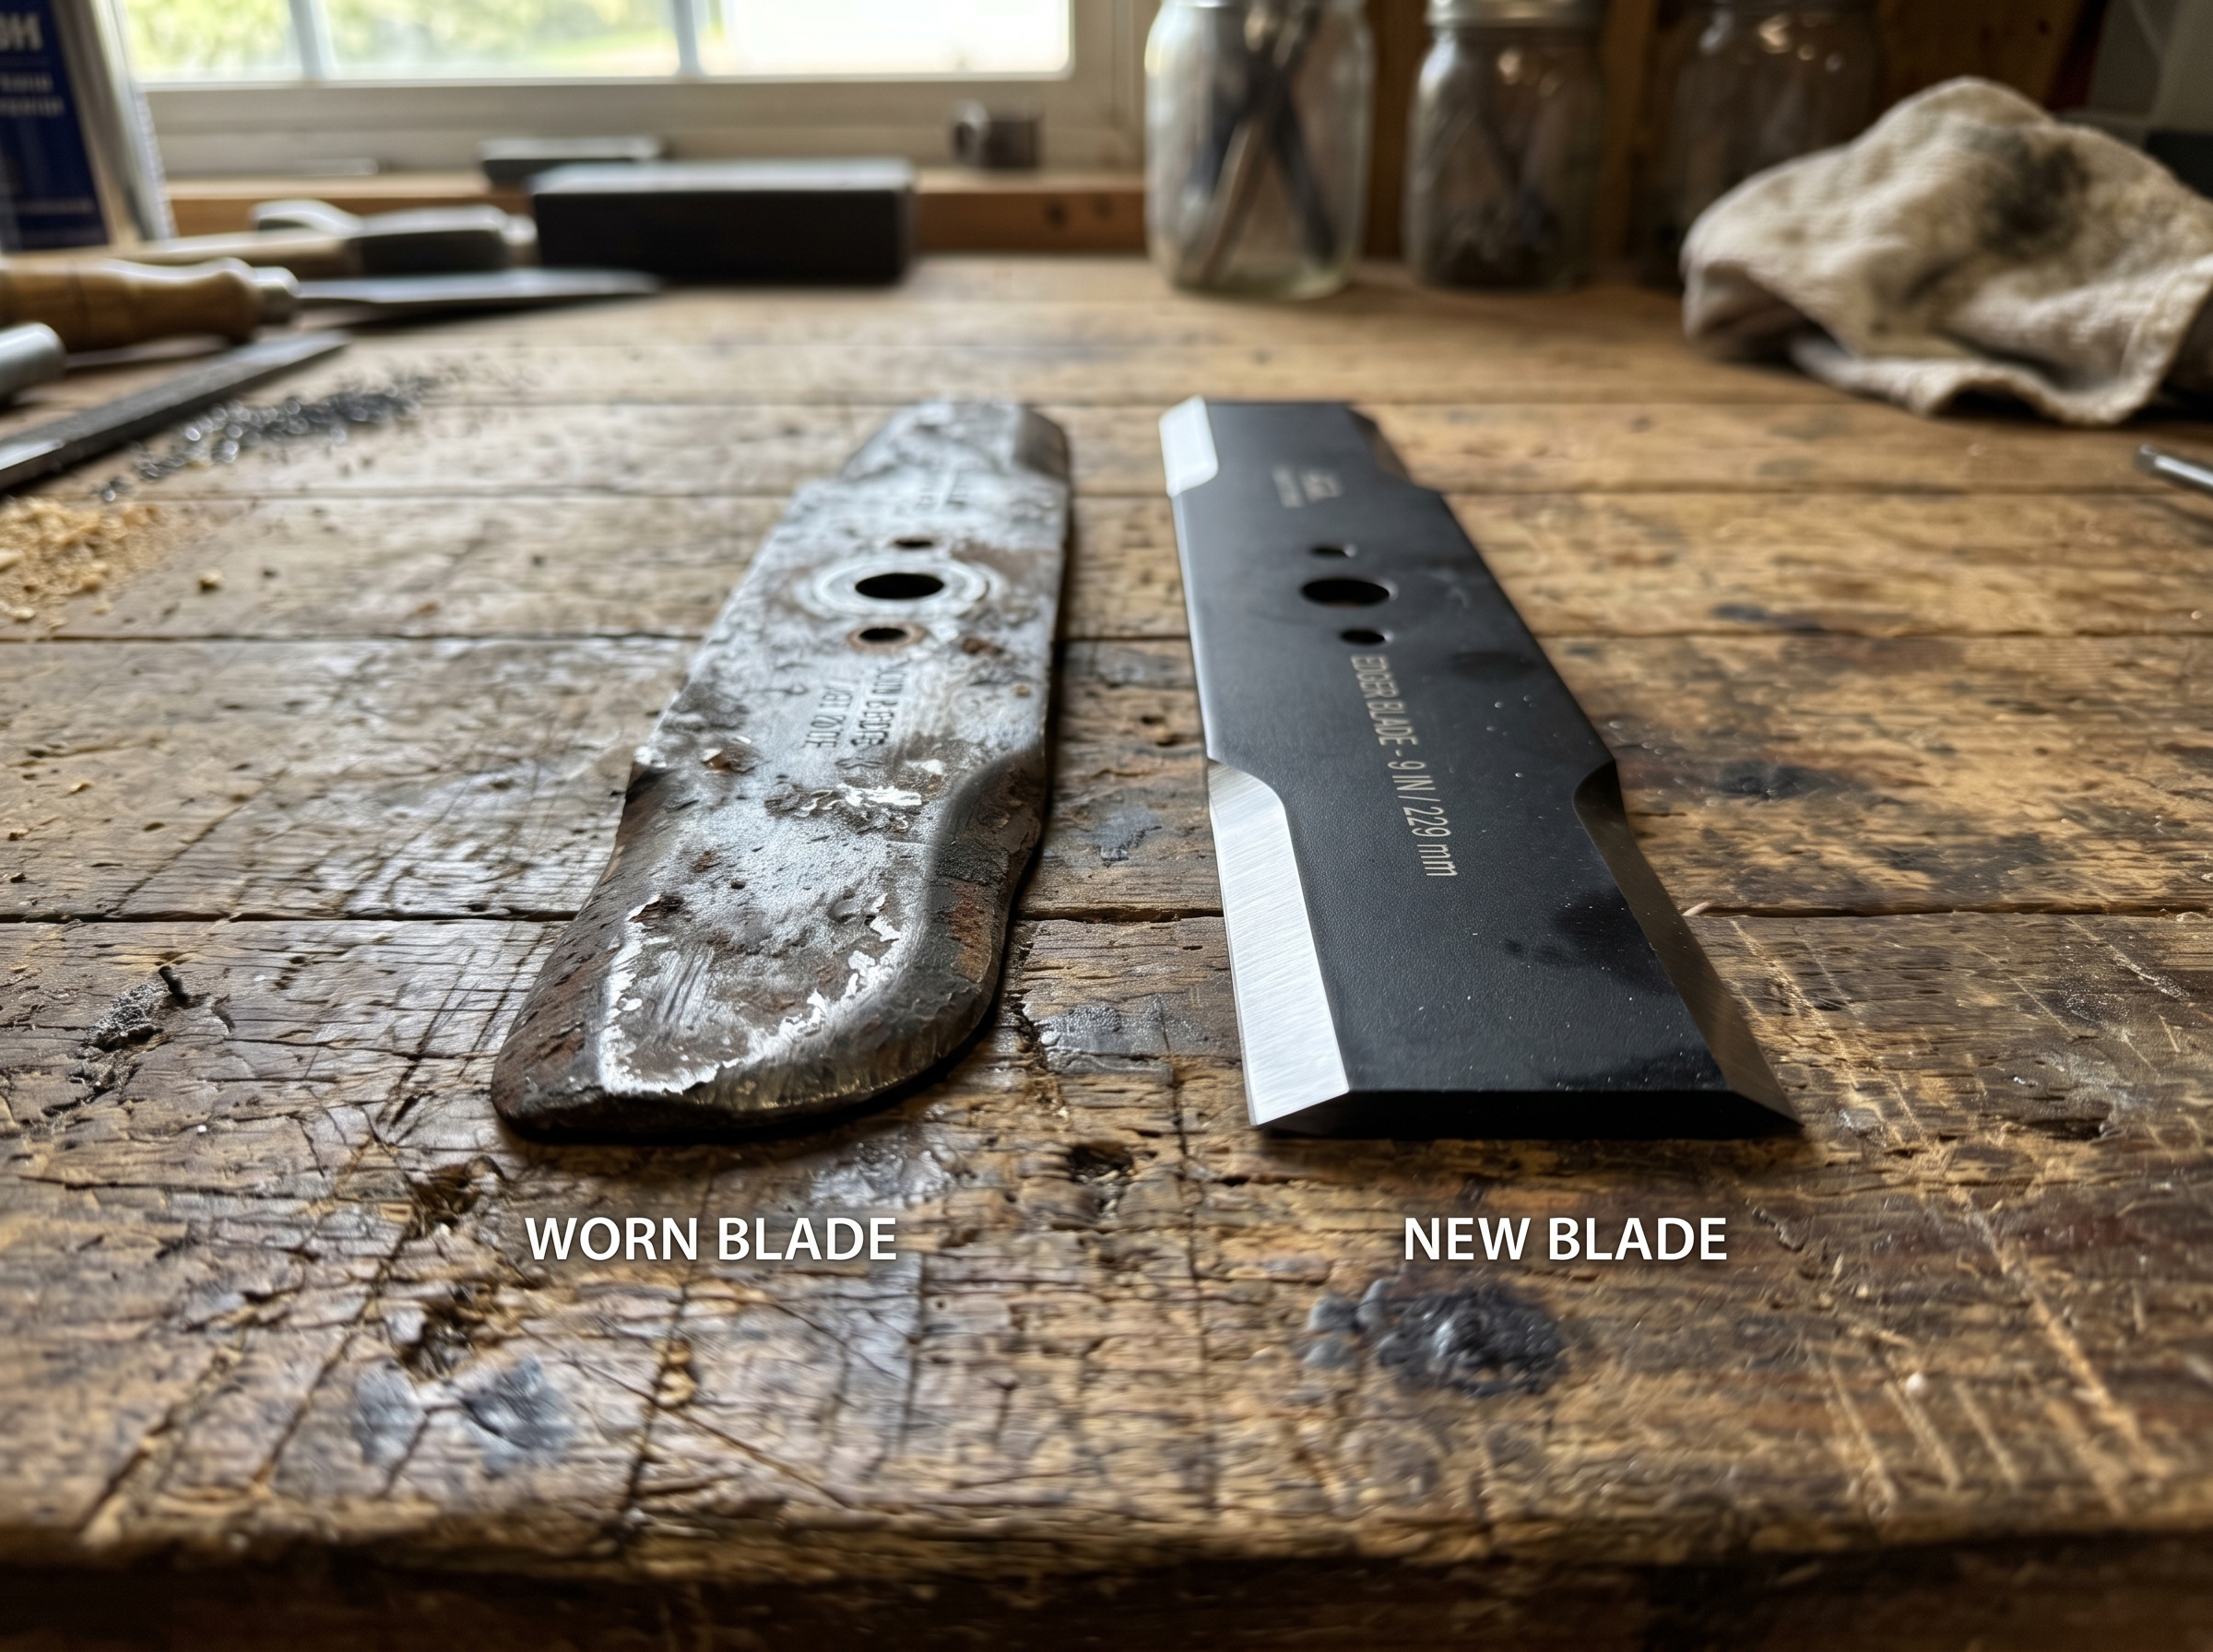
Pull the blade guard back and look at the cutting edge. The signs of a blade that has reached the end of its service life are straightforward:
- Rounded or dull cutting edge. A sharp edger blade slices through turf cleanly and leaves a defined trench line. A dull blade tears and drags, requiring more passes and more pressure.
- Chips and notches. Impact damage from rocks, sidewalk edges, and buried objects removes material unevenly. Small nicks can sometimes be dressed with a file, but deep chips compromise the blade’s balance and cutting ability.
- Reduced diameter. Edger blades lose material from the outside in. A blade that has been resharpened several times or has worn down visibly may no longer reach the correct cutting depth for your machine.
- Wobble or looseness. Check the center hole for elongation and the mounting hardware for wear. A blade that wobbles cuts unevenly and puts stress on the arbor and bearings.
For the final fall cleanup, you want a blade that cuts cleanly on the first pass. If yours is showing any combination of the above, replace it before the job. A fresh blade makes the work faster and the result sharper.
Choosing the right replacement matters. Edger blades are not universal. Diameter, center hole size, thickness, and tooth count all vary by brand and model. The guide on how to choose the right edger blade size covers the measurements that need to match. If you are not sure whether your current blade is worn enough to justify replacement, the walkthrough on when to replace your edger blade breaks down the decision with specific inspection points.
Trimmer Head: Cracks, Feed Problems, and Line Wear
String trimmers take a beating during fall cleanup. Thick grass, wet leaves, woody stems near fence posts, and accumulated debris along borders all increase the load on the trimmer head and line. A head that was working adequately during light summer touch-ups may start failing under the heavier fall workload.
Here is what to check:
Housing Condition
Inspect the trimmer head housing for cracks, chips, or deep gouges. The housing takes direct hits from rocks, concrete edges, and fence hardware all season. Hairline cracks can open up under vibration and centrifugal force, and a cracked housing is a safety issue. If the housing is damaged, replace the entire head assembly.
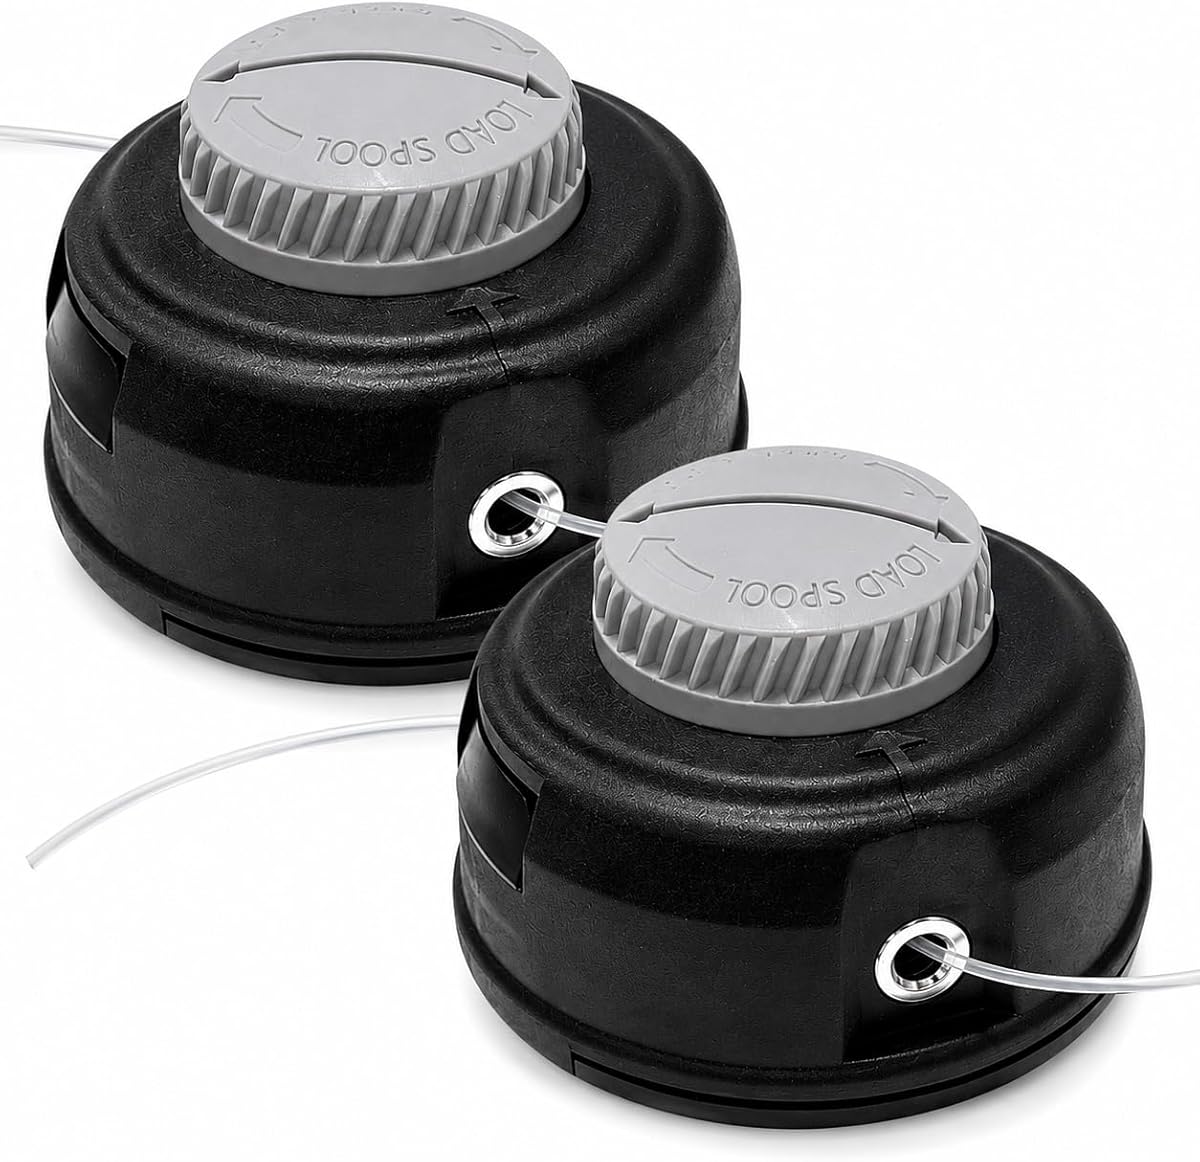
Bump-Feed or Auto-Feed Function
If your trimmer uses a bump-feed head, test the action before loading up for the big cleanup. Press the bump knob and check that it moves freely and returns. Dirt, dried grass, and moisture can gum up the internal spring and spool mechanism over a season of use. A head that does not feed reliably means constant stops to pull line manually, which kills productivity during a long session.
Auto-feed heads should also be checked. If the line advances inconsistently, the issue may be internal wear on the spool or feed mechanism, or it may be that the line diameter loaded does not match the head’s specification.
Line Eyelets
The eyelets where the line exits the head are high-wear points. Over a season, the line cuts grooves into the eyelets, and those grooves can start pinching or shredding the line as it feeds out. If the eyelets are deeply grooved or chipped, line breakage and feeding problems will get worse under heavy use. Some trimmer heads allow eyelet replacement; others require a full head swap.
Line Selection
For fall cleanup, use fresh line in the correct diameter for your trimmer head. Old line that has been sitting on the spool since spring becomes brittle and breaks more easily. Thicker line handles woody stems and heavy grass better, but only if your head and engine are rated for it. Running line that is too thick for the machine increases engine load and can damage the clutch.
If you are dealing with persistent feeding issues or are not sure whether your head is compatible with your trimmer, the guide on how to match the right trimmer head explains the key compatibility factors, including shaft style, thread direction, and attachment systems.
Putting It Together: The Pre-Cleanup Inspection
Before heading out for the last big fall session, run through this quick checklist:
Edger:
- Inspect blade edge for dullness, chips, and reduced diameter
- Check blade mounting hardware and center hole for wear
- Confirm blade spins true without wobble
- Replace if any structural issue is present
Trimmer:
- Inspect head housing for cracks or damage
- Test bump-feed or auto-feed function
- Check eyelets for grooving or chips
- Load fresh line in the correct diameter
- Confirm the head is tight on the shaft with no wobble
Both machines:
- Check air filter and spark plug if the unit has not been serviced recently
- Top off fuel or charge batteries
- Inspect guards and shields for cracks or loose mounting
Why It Matters Before Storage
The final fall cleanup is not just about curb appeal before winter. It is also the last time you will run these machines before they sit for months. Storing a trimmer with a cracked head or an edger with a destroyed blade means you will face the same problems in the spring, plus whatever additional degradation storage adds.
Replacing worn parts before the last job means you finish the season with good results and start the next one with equipment that is ready to work. A sharp edger blade and a properly functioning trimmer head turn a long, frustrating fall cleanup into a straightforward job that gets done in one pass.

Find the right part on Amazon
Check price, stock and fitment — ships direct from Amazon.
§ Catalog
Shop the catalog