§ Journal · Jun 2, 2026
Weekend Deck Trim Project — Brad Nail Size and Nailer Setup Guide
How to choose the right brad nail size and set up your nailer for deck trim, baseboards, and outdoor cabinet facing.
Published · Last updated:
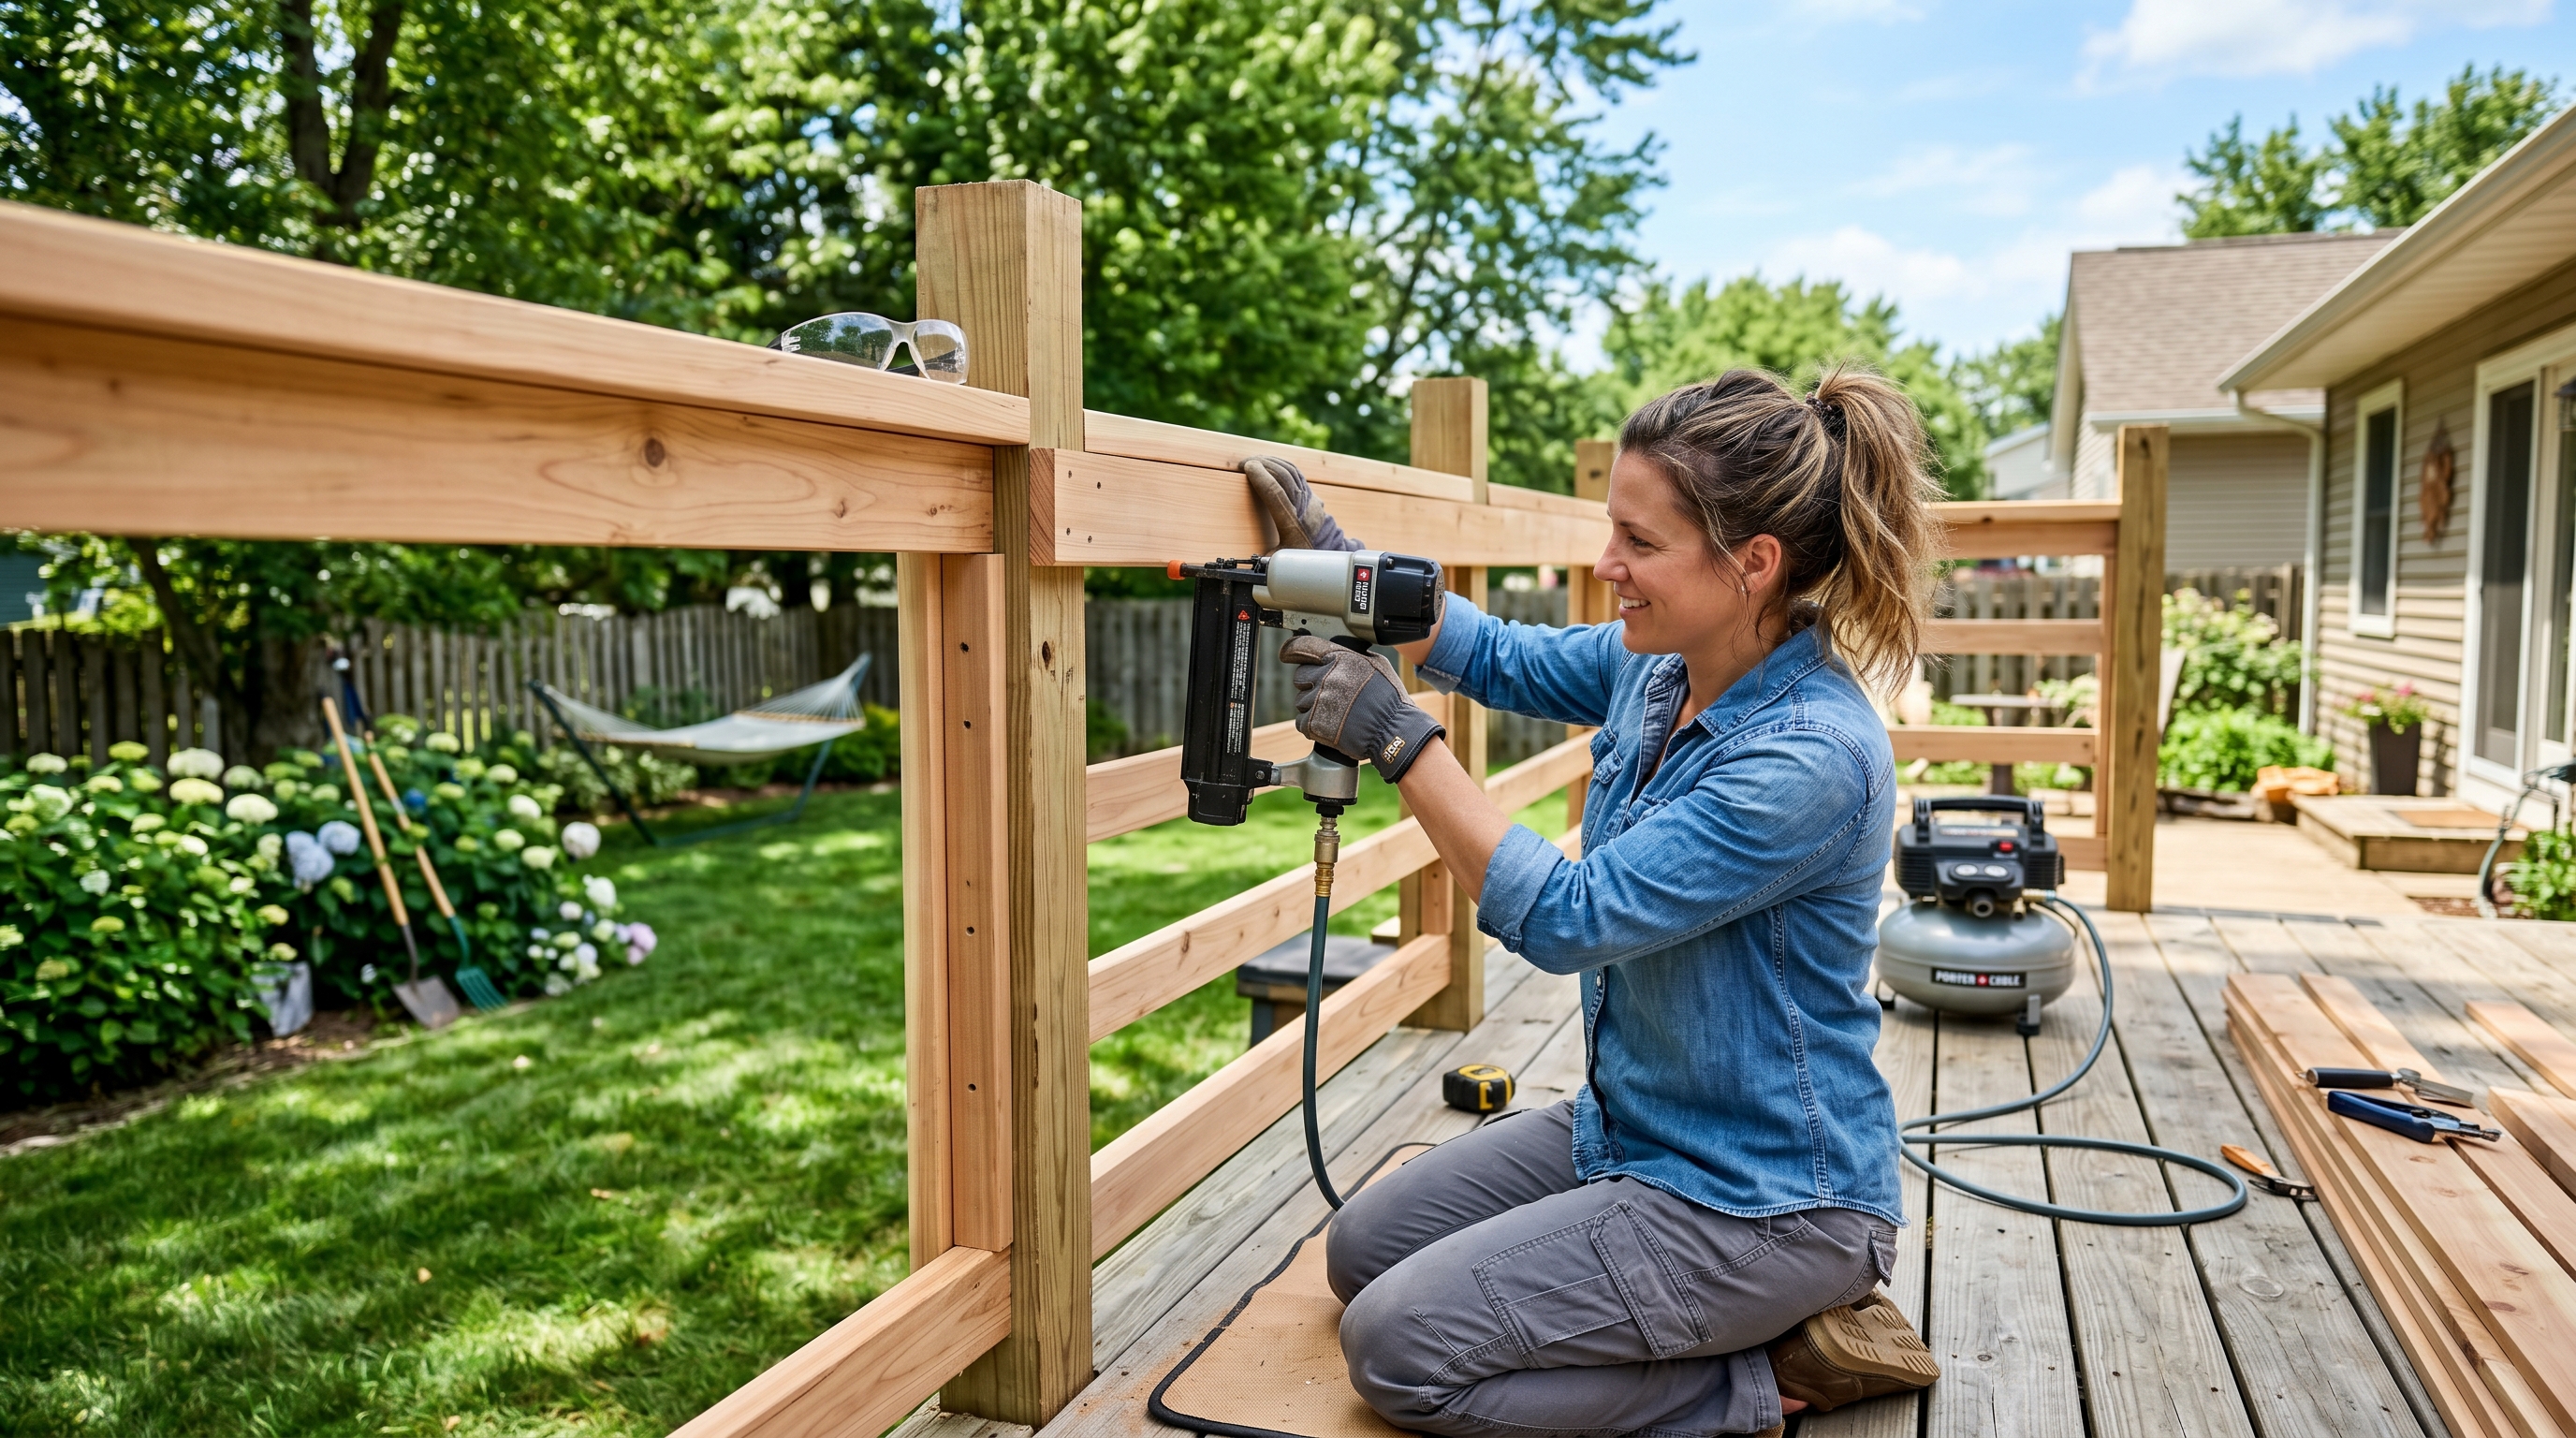
A weekend deck trim project sounds simple until you are standing in the fastener aisle trying to figure out which brad nails to buy. Too short and they do not hold. Too long and they blow through the substrate or split the trim. Wrong finish and they rust out in the first rainy season. The brad nailer itself needs the right pressure and depth setting or you end up with nails that sit proud, sink too deep, or jam every third shot.
This guide covers brad nail sizing, material matching, and nailer setup for the most common outdoor trim projects: deck trim boards, exterior baseboards, and outdoor cabinet or bar facing. If you are planning a weekend build, getting the fastener side right takes ten minutes of planning and saves a lot of rework.
Choosing the Right Brad Nail Size
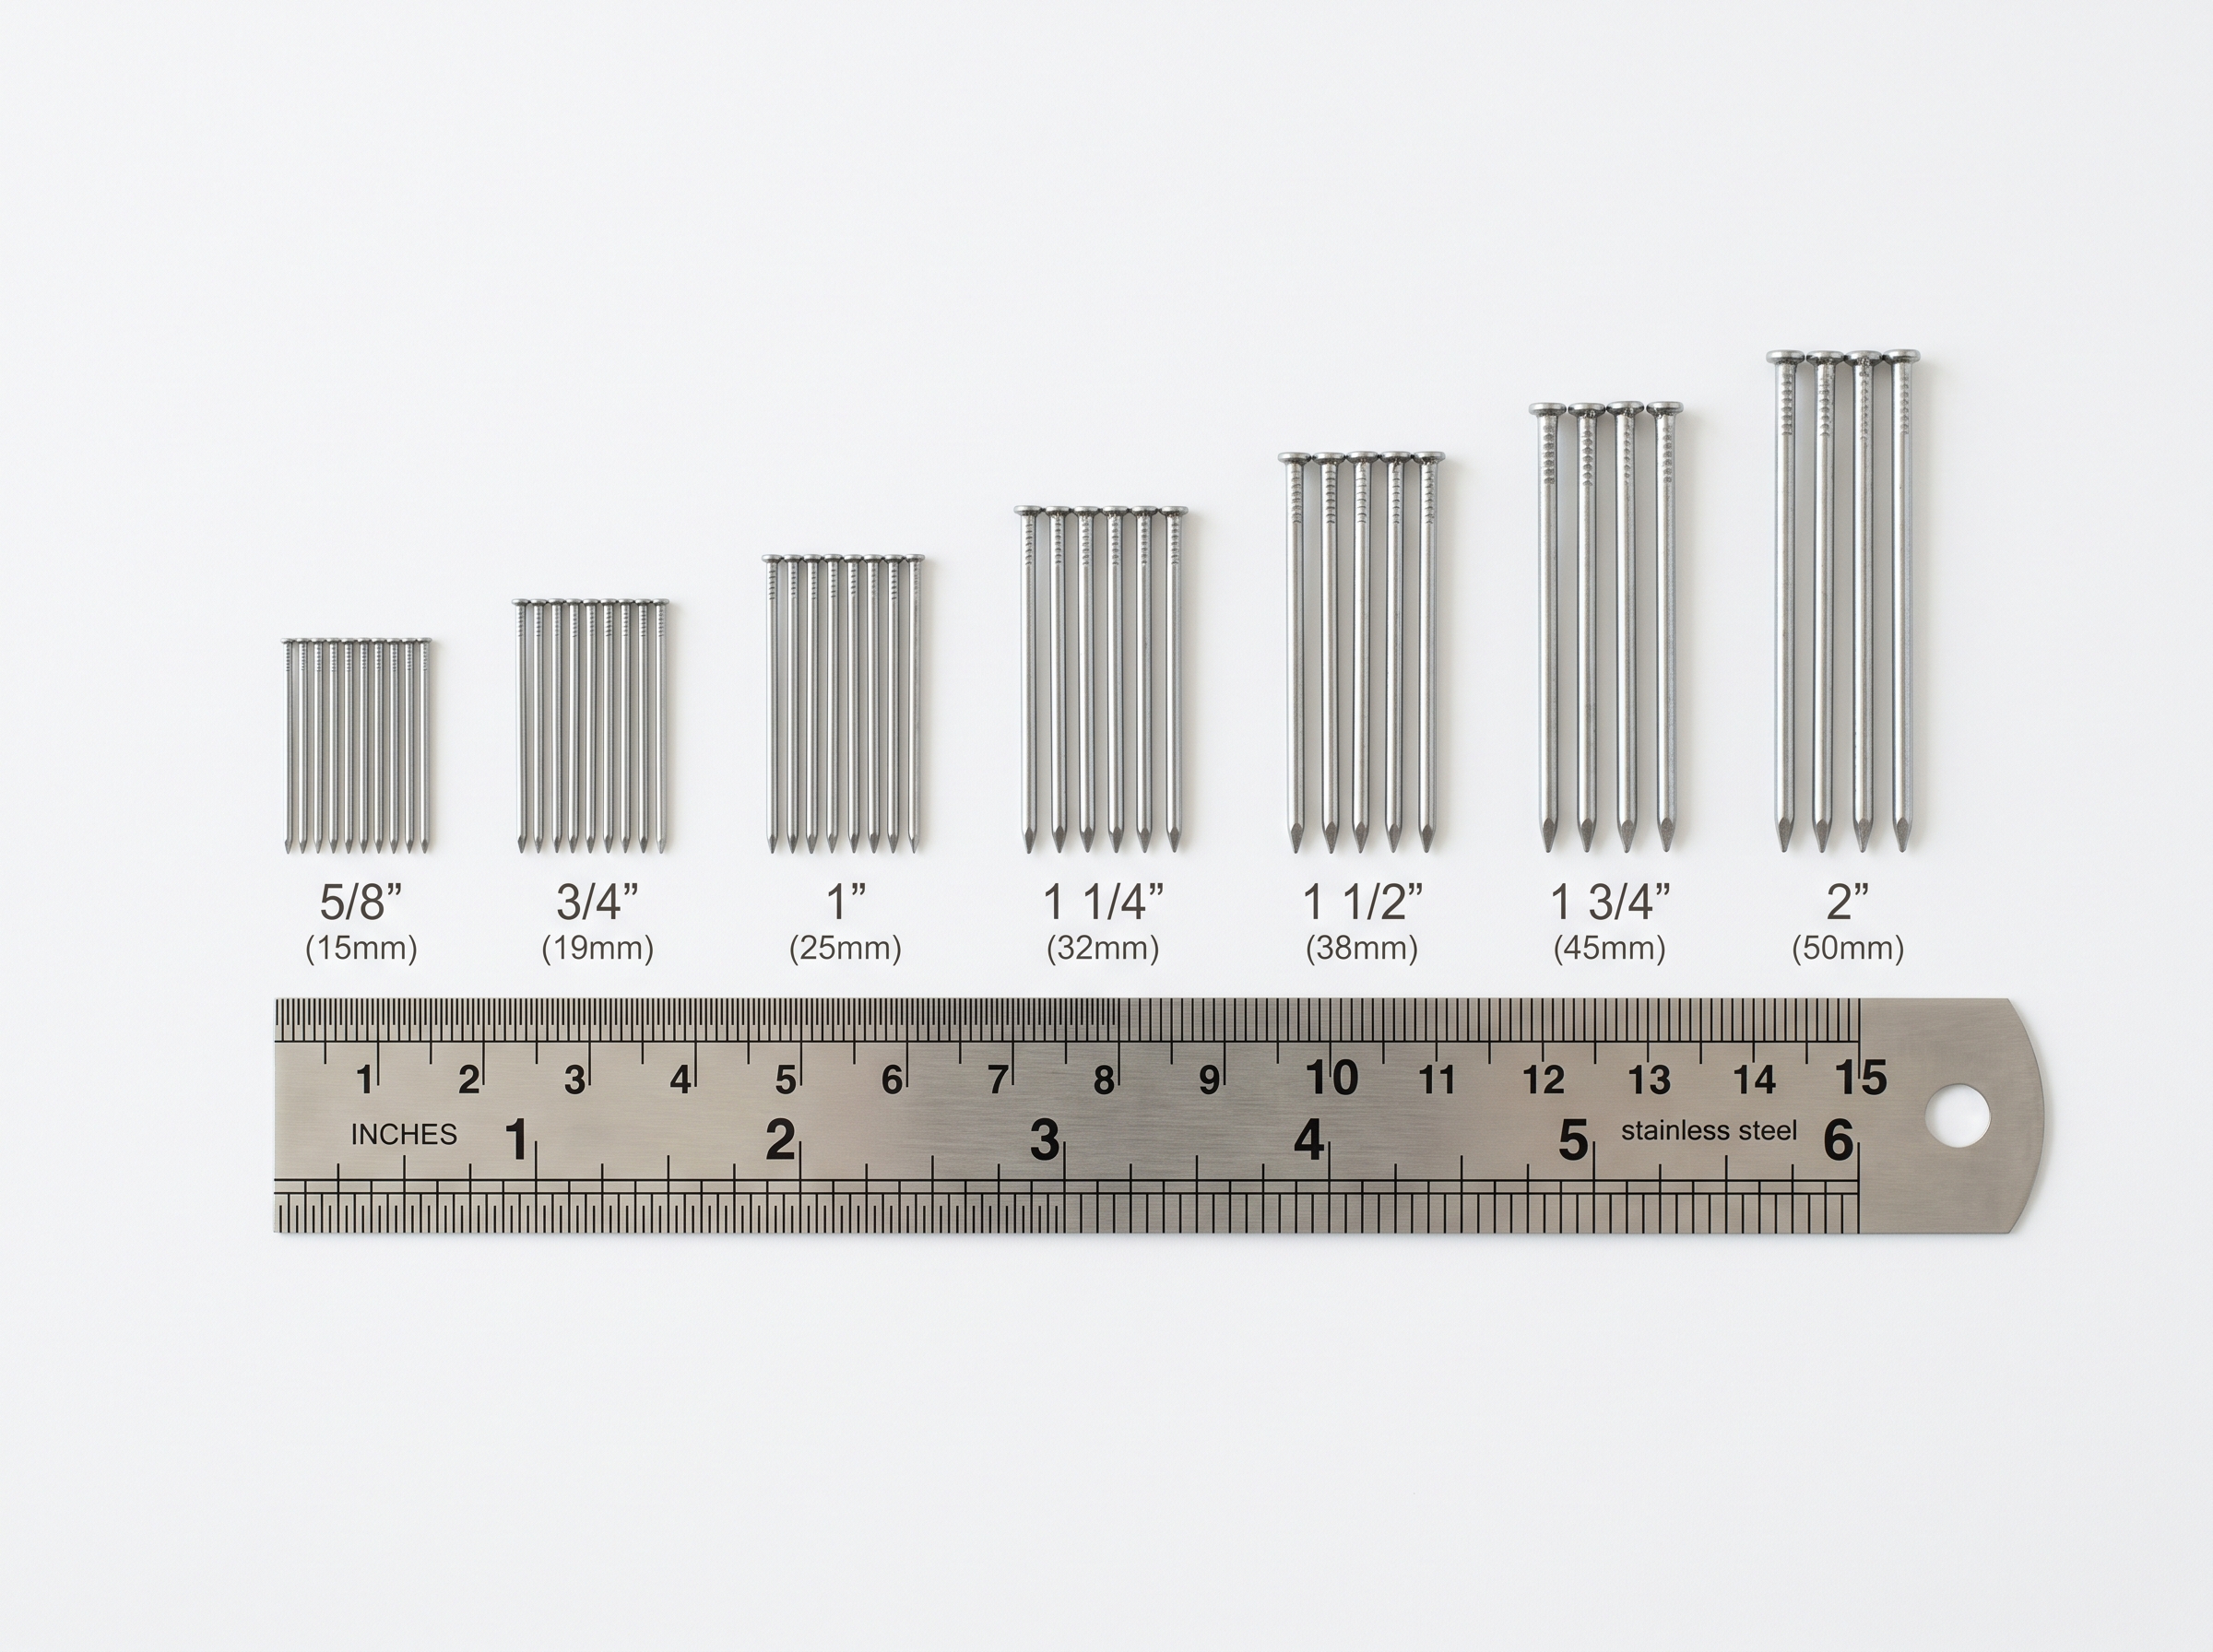
Brad nails are 18-gauge wire nails with small heads, designed for trim and finish work where you want holding power without visible fastener marks. They come in lengths from 5/8 inch to 2 inches, and the right choice depends on two things: the thickness of the material you are attaching, and the material you are attaching it to.
The general rule is that the nail should be long enough to pass through the trim piece and penetrate at least 3/4 inch into the substrate behind it. That gives enough grip to hold the trim securely without relying on adhesive alone.
Here is how that plays out for common deck and outdoor trim scenarios:
Thin Trim and Facing (1/4 to 3/8 inch thick)
Materials like PVC lattice trim, thin decorative facing, and screen molding fall in this range. Use 3/4-inch to 1-inch brad nails. The trim is thin enough that anything longer risks blowing through the substrate or splitting the trim at the edges.
Standard Trim Boards (1/2 to 3/4 inch thick)
This covers most deck trim, PVC or composite trim boards, and exterior baseboard profiles. Use 1-1/4-inch to 1-1/2-inch brad nails. This gives you full penetration through the trim plus solid bite into the framing or substrate behind it.
Thick Trim and Cabinet Facing (3/4 to 1 inch thick)
Outdoor kitchen cabinet facing, thick fascia wraps, and heavier trim profiles need more length. Use 1-1/2-inch to 2-inch brad nails. At this length, you are close to the upper limit of what an 18-gauge brad nailer handles well. If the material is thicker than one inch or the substrate is hardwood, consider stepping up to a 16-gauge finish nailer for better holding power.
For a detailed breakdown that covers interior applications as well, the brad nail size guide for trim, casing, and cabinets goes deeper into gauge selection, holding power, and material-specific recommendations.
Outdoor Projects Need Galvanized or Stainless Brads
This is the single most important tip for any exterior brad nailing project. Standard bright (uncoated) brad nails will rust. It does not take long. Within a few months of exposure to rain, humidity, and temperature swings, uncoated brads develop rust stains that bleed through paint and stain finishes. Eventually the nail corrodes enough to lose holding power entirely.
For any outdoor application, use one of these:
- Galvanized brad nails for most exterior trim work. Hot-dipped galvanized offers better corrosion resistance than electro-galvanized, but either is a significant upgrade over bare steel.
- Stainless steel brad nails for high-moisture environments like coastal areas, pool enclosures, or any location where salt exposure is a factor. Stainless costs more but eliminates rust staining completely.
Check your nailer’s compatibility before loading galvanized or stainless brads. Most 18-gauge brad nailers handle galvanized nails without issues, but some lower-cost models may have feed problems with stainless due to the slightly different wire properties. Run a few test shots into scrap before committing to the project.
Nailer Setup for Outdoor Trim
Getting the nail depth right matters more on exterior work than interior. A nail that sits proud above the surface catches moisture and starts a rust stain even if you used galvanized brads. A nail driven too deep can crack thin composite or PVC trim.
Air Pressure (Pneumatic Nailers)
Start at 70-80 PSI and test on a scrap piece of the same material. Increase pressure in small increments until the nail sits just below the surface, leaving a small dimple you can fill. Most deck trim work lands between 80 and 100 PSI depending on the nailer, nail length, and material density.
Softwood substrates like pine framing need less pressure. Hardwood, composite decking used as substrate, and dense PVC trim need more. Always test first.
Depth Adjustment (Cordless and Pneumatic)
Most modern brad nailers have a tool-free depth adjustment dial or wheel. Use it. Set the depth so the nail head sits about 1/32 inch below the surface. This gives you room to fill the hole with exterior-rated wood filler or caulk without the nail head being visible after painting.
Contact Tip vs. Sequential Trigger
For trim work, use the sequential trigger mode if your nailer offers it. This requires you to press the contact tip against the workpiece before pulling the trigger. It is slower than bump firing but far more precise, and on trim work, precision matters more than speed. One misplaced nail in a visible trim board is one too many.
Common Mistakes on Weekend Deck Trim Projects
Using interior-grade brads outdoors. This is the most common mistake. The nails will rust and the trim will eventually come loose. Always use galvanized or stainless for exterior work.
Nailing too close to the edge of the trim. Brad nails placed within 1/4 inch of the edge of a trim board can split the material, especially in cold weather when PVC and composite become more brittle. Keep nails at least 3/8 inch from any edge.
Skipping adhesive. Brad nails are holding fasteners, not structural fasteners. For outdoor trim that will expand and contract with temperature changes, use a bead of exterior construction adhesive behind the trim and then pin it with brads. The adhesive provides the long-term bond; the brads hold everything in place while the adhesive cures.
Not accounting for thermal expansion. PVC and composite trim expand and contract more than wood. Leave a small gap (1/16 inch per 8 feet of run) at butt joints. If you pin the trim too tightly, it will buckle in summer heat.
Ignoring moisture behind the trim. On deck fascia and skirting, make sure water can drain and air can circulate behind the trim. Trapping moisture behind nailed trim accelerates rot in wood substrates and can cause mold or adhesive failure.
Before You Start
Lay out your materials, measure twice, and do a dry fit before firing a single nail. Set up your nailer with the right brads, adjust the depth on scrap, and confirm the trigger mode. A weekend deck trim project should be satisfying work, not a troubleshooting session. The right brad nail in the right nailer, set to the right depth, makes clean, lasting results that hold up season after season.

Find the right part on Amazon
Check price, stock and fitment — ships direct from Amazon.
§ Catalog
Shop the catalog