§ How-To
Trimmer Line Won't Feed? Common Causes and Quick Fixes
When your bump-feed or auto-feed trimmer stops advancing line, the fix is usually simpler than you think.
Published · Last updated:
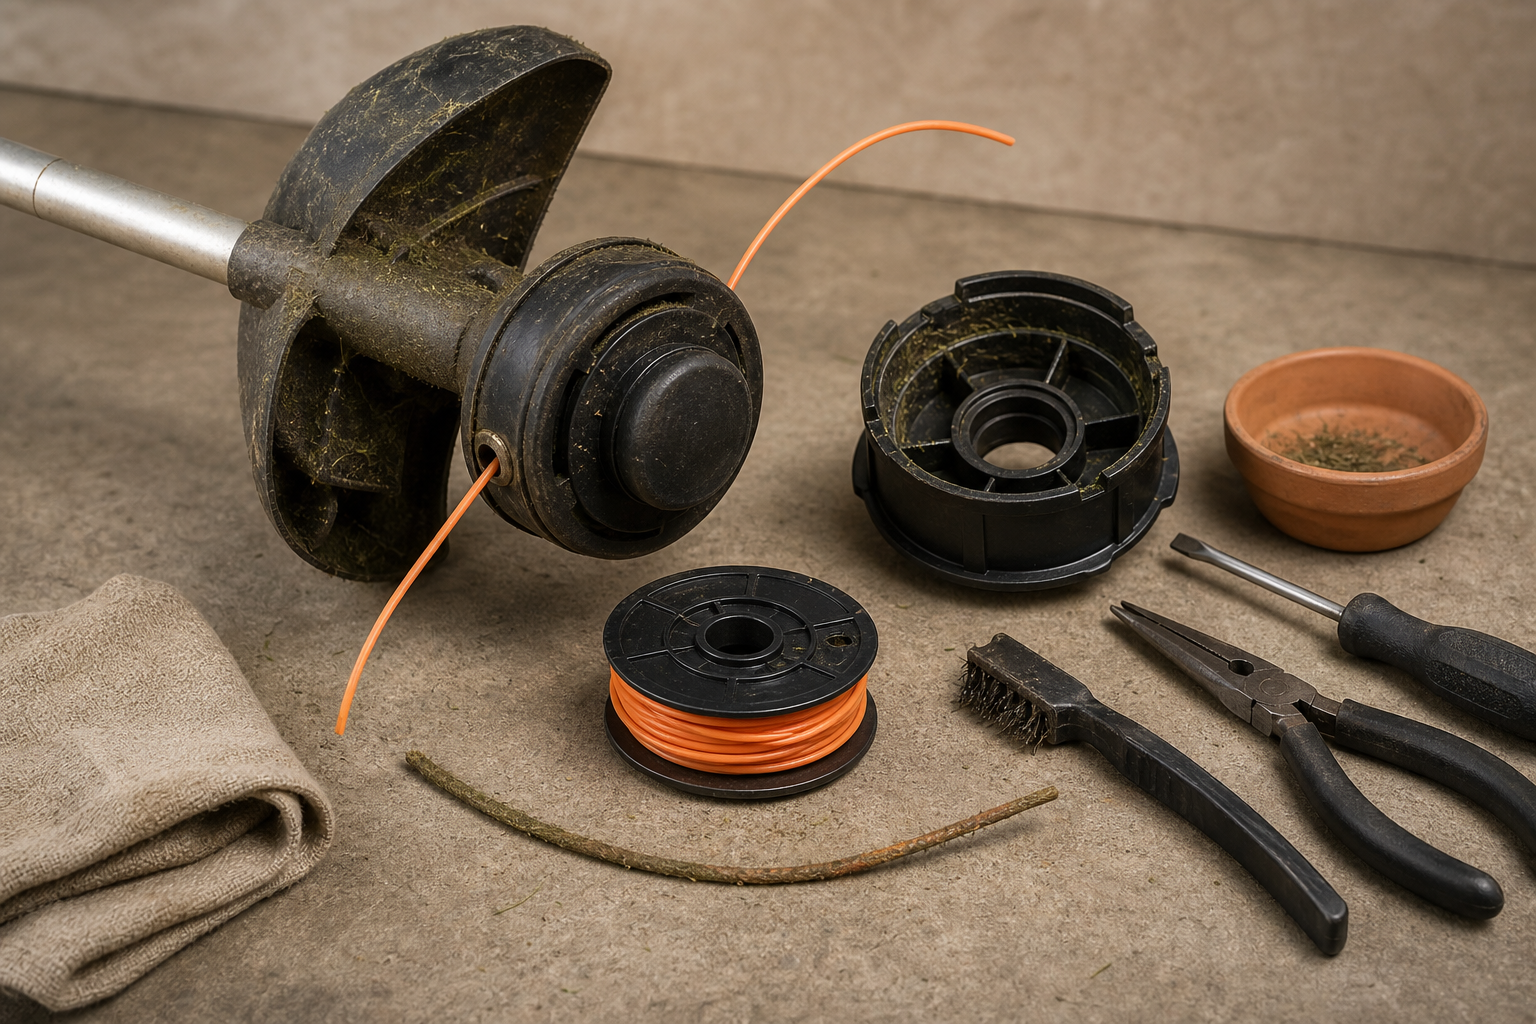
If your trimmer line won’t feed, you’re dealing with one of the most common string trimmer problems owners run into. This question comes up often in online communities and owner forums, especially from users of Ryobi, STIHL, and Craftsman bump-feed heads. Sometimes the line keeps breaking. Other times the head won’t advance line at all, or the auto-feed mechanism seems to stop working for no obvious reason.
The good news is that most line-feed problems come down to a handful of causes: incorrect line size, poor winding, a worn trimmer head, or line that has become brittle or fused together. Once you understand why the feed system works—or doesn’t—it becomes much easier to fix the problem and keep it from returning.
What usually causes trimmer line not to feed
A string trimmer head is a simple system, but it depends on a few parts working together properly. The spool has to rotate freely, the line has to be the correct diameter, and the bump or auto-feed mechanism has to release line without binding.
Here are the most common root causes.
Wrong line diameter
This is one of the biggest reasons line won’t advance. If the line is too thick for the head, it binds in the spool and refuses to release. If it’s too thin, it can tangle, wear too quickly, or fail to engage the feed mechanism correctly. Always match the line size to what the trimmer head is designed to use.
Line wound the wrong way
Most spools have arrows showing the correct winding direction. If the line is wound backward, the head may tighten the line instead of releasing it when you bump or pull. That leads to jams, short feed, or line that seems stuck inside the spool.
Overfilled spool
Packing in too much line is a very common mistake. It seems like it should save time, but an overfilled spool creates friction. The line rubs too tightly against itself and the spool walls, so it cannot slip free when needed.
Line crossed or tangled on the spool
If the line is wound loosely, overlaps itself, or crosses between layers, it can lock in place under load. This is especially common when line is rewound quickly without keeping tension on it.
Old, dry, brittle line
Trimmer line absorbs a small amount of moisture. As it ages and dries out, it becomes brittle and more likely to snap inside the head. That’s why many owners complain that the “line keeps breaking” even when the machine is otherwise fine. Broken ends inside the spool can also make the head seem like it is not feeding.
Worn bump knob, spool, or spring
On bump-feed heads, the bump knob, internal spring, and spool all wear over time. A worn knob may not push the spool enough to release line. A weak spring may fail to reset the spool properly. A damaged spool can drag or wobble.
Debris packed inside the head
Grass dust, dirt, and melted plastic residue can build up inside the trimmer head. That extra debris creates drag and can prevent smooth spool movement.
Damaged eyelets or line guides
The holes where the line exits the head matter more than many people realize. If those eyelets become grooved, sharp, or distorted, they can grab the line and stop it from feeding smoothly.
How to diagnose the problem step by step
Before replacing parts, it helps to narrow down exactly where the failure is happening. A careful inspection usually tells you whether you’re dealing with a line issue, a loading issue, or a worn head.
1. Confirm you have the correct line
Check your trimmer’s manual or the markings on the head. Many feed problems start with using whatever line is on hand instead of the specified diameter and shape.
2. Remove the spool and inspect the line
Look for welded sections, melted spots, kinks, or brittle breaks. If the line feels stiff or snaps easily, replace it. If it is fused together in places, friction and heat likely caused it to stick.
3. Check the winding direction
Most spool heads are clearly marked. If the line is wrapped opposite the arrow direction, rewind it correctly.
4. Look for overfilling
If the spool is packed nearly to the edge, remove some line and rewind to the proper amount. The line should sit neatly and still leave room for movement.
5. Inspect the spool and spring
Look for cracked plastic, worn retaining tabs, or a spring that is bent, rusted, or collapsed. If the spool does not move freely, the head will not feed correctly.
6. Examine the bump knob and housing
If the bump knob is ground down or damaged, it may not trigger line release. Also inspect the housing for warping or wear.
7. Check the eyelets
Run a fingertip carefully around the line exit points. If they feel sharp or heavily grooved, they can catch the line and cause repeated breakage.
8. Clean the head thoroughly
Wipe out packed debris and remove any melted fragments of line. Sometimes a simple cleaning restores normal function.
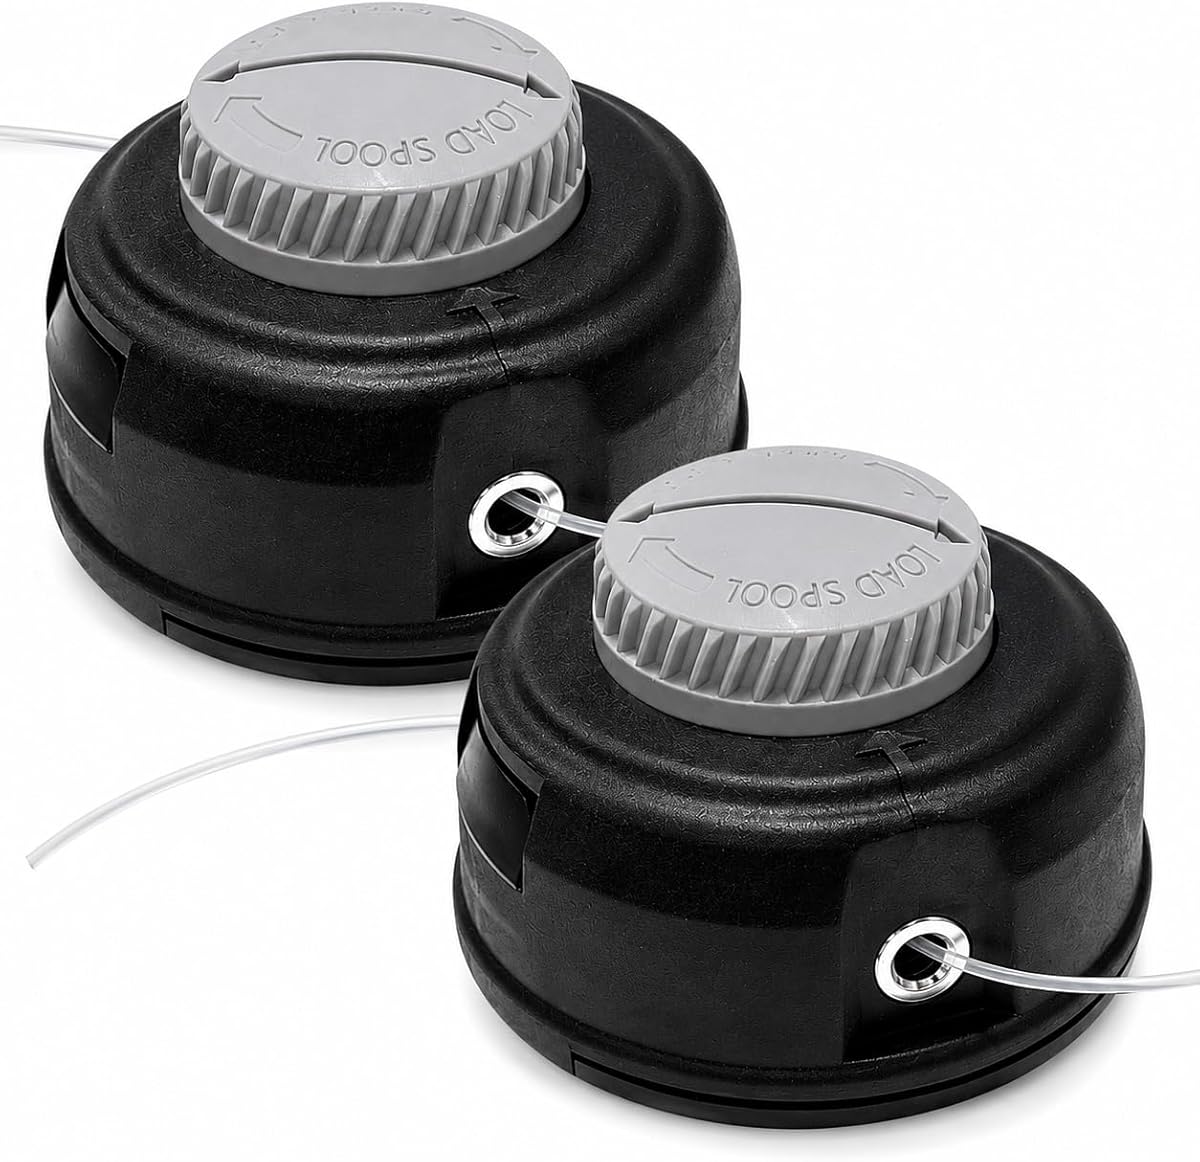
If you find multiple worn pieces at once, it is often more practical to replace the spool, bump knob, or even the complete trimmer head rather than fight recurring feed issues. Compatible replacement parts are available on this site, which can save a lot of trial and error when matching the right components.
The fix: quick solutions that actually work
Once you know the cause, the repair is usually straightforward.
Rewind the line correctly
Use the correct diameter line and wind it tightly, evenly, and in the marked direction. Keep steady tension while winding so the layers sit neatly without crossing.
Do not overfill the spool
Leave enough room for the line to move. A properly loaded spool feeds better than an overpacked one, even if it holds slightly less line.
Replace old line
If the line is brittle, dry, or breaking constantly, install fresh line. Some owners soak new trimmer line in water for a day before use to improve flexibility, especially in hot, dry conditions.
Replace worn spool components
If the spool is cracked, the spring is weak, or the bump knob is worn out, replacing those parts is the right move. These are normal wear items. On many bump-feed heads, fresh internal parts can restore feeding performance immediately.
Replace the complete trimmer head when wear is extensive
If the housing, eyelets, spool, and bump parts are all showing wear, a complete head replacement is often the most cost-effective fix. It also eliminates compatibility guesswork when several small pieces have degraded together.
For owners of STIHL-style heads, spool service and head replacement are especially common maintenance jobs.
Watch: Video walkthrough
If you want a visual guide to trimmer head service, this walkthrough is a helpful reference:
Even if your exact model differs, the process of removing the head, inspecting wear parts, and installing replacements is very similar across many string trimmers.
How to prevent line feed problems in the future
A little setup and maintenance goes a long way here. Most repeat feed problems are preventable.
Use the exact line your head is designed for
Do not assume thicker line is better. The best cutting performance comes from the size and type the manufacturer intended.
Wind carefully, not quickly
Neat winding matters. Crossed or loose wraps are one of the top causes of feed failure.
Store line properly
Keep bulk line sealed or stored in a controlled space so it does not dry out excessively. Brittle line breaks more often and creates jams inside the head.
Clean the trimmer head regularly
Whenever you reload line, brush out debris and inspect the internal parts. A clean head feeds more consistently and lets you catch wear before it becomes a bigger issue.
Avoid forcing the head when line is stuck
If the line does not feed, stop and inspect the spool. Repeatedly bumping a jammed head can damage the bump knob, spring, or spool tabs.
Replace wear parts before total failure
Spools, springs, knobs, and eyelets wear gradually. If your trimmer is feeding inconsistently, replacing these parts early can prevent downtime. Compatible replacement parts are available on this site for many common trimmer head styles, making it easier to restore reliable performance without replacing the whole machine.
FAQ
Why does my trimmer line keep breaking inside the head?
Usually because the line is old and brittle, wound too tightly or incorrectly, or being pinched by damaged eyelets or a worn spool. Using the wrong diameter line can also cause internal breakage.
Why won’t my bump-feed head advance line when I tap it?
The most common reasons are incorrect winding direction, overfilled spool, tangled line, or worn internal parts such as the bump knob or spring. A dirty head can also prevent the spool from moving freely.
Should I replace the spool or the whole trimmer head?
If only the line or spool is the issue, replacing the spool or internal parts is usually enough. If the housing, eyelets, knob, and spring all show wear, replacing the complete head is often the better long-term fix.

Find the right part on Amazon
Check price, stock and fitment — ships direct from Amazon.
§ Catalog
Shop the catalog