§ How-To
Replacing a Mower Deck Belt Step by Step
Walk through belt inspection, safe removal, routing, and tension checks for common riding mower and zero-turn applications. Include signs of wear and tips for verifying length and part number before installation.
Published · Last updated:
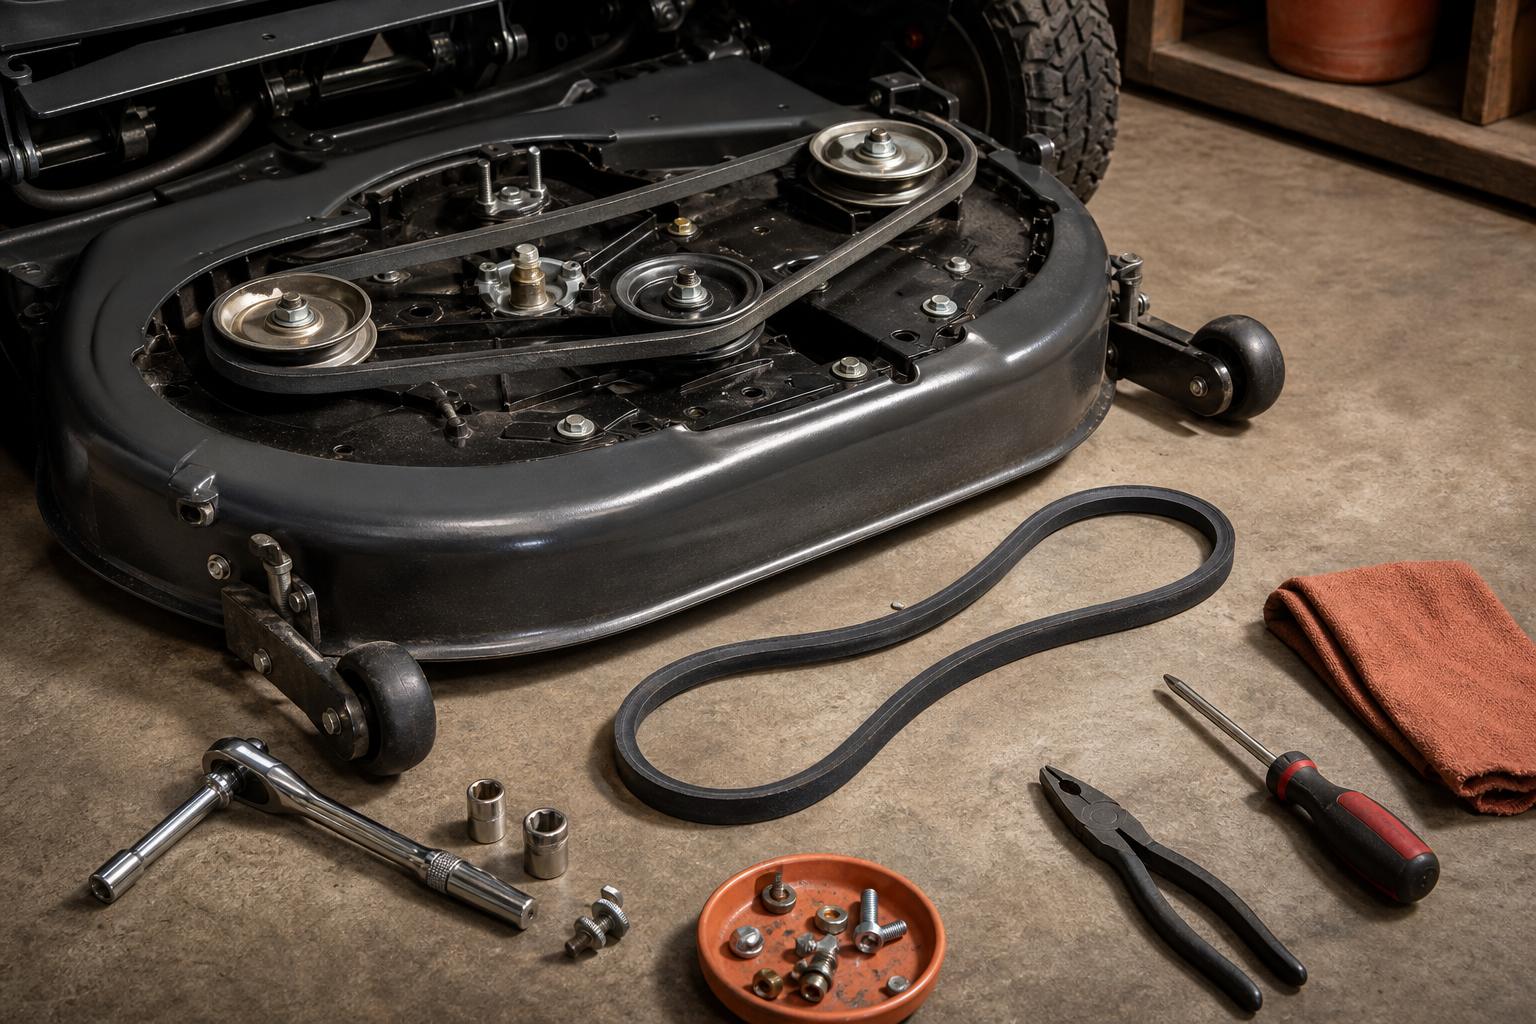
A mower deck belt does more than spin blades—it transfers power under load, absorbs shock, and has to track correctly through pulleys, idlers, and guides. When the belt is worn, stretched, glazed, or routed incorrectly, you get weak cutting performance, squealing, uneven blade speed, or repeated belt roll-off. Whether you’re working on a riding mower or a zero-turn, replacing the deck belt the right way starts with verifying the correct belt, then handling removal and installation safely so the new belt lasts.
Inspect the Old Belt Before You Remove It
Before pulling anything apart, take a minute to inspect the existing belt and confirm what you’re replacing. This helps you catch related problems that can ruin a new belt quickly.
Look for these common belt-wear signs:
- Cracks across the ribs or outer cover
- Glazing or shiny sidewalls, often caused by slipping
- Frayed edges, which can point to pulley misalignment or damaged belt keepers
- Chunking or missing material
- Burnt rubber smell or melted spots
- Stretching, where the belt sits too deep in pulleys or can’t maintain tension
On mower decks, belt failure is often tied to more than age. Spin each spindle pulley by hand with the engine off and the key removed. Roughness, wobble, or grinding suggests a spindle bearing issue. Check idler pulleys for seized bearings or worn grooves. Inspect belt keepers and guide rods—if they’re bent too far away from the pulley, the belt can jump off; too close, and they can rub and overheat the belt.
Before removal, photograph the belt routing from several angles. Even if you have a decal on the deck, it may be dirty, missing, or hard to follow. On many riding mowers, the deck belt snakes around one or two spindle pulleys, one or more idlers, and the engine pulley. On zero-turn mowers, routing can be more complex due to stacked pulleys, spring-loaded tensioners, and deck-lift geometry.
Also verify the replacement belt details now:
- OEM part number from the model/serial tag
- Deck size, such as 42”, 48”, 54”, or 60”
- Application type: riding mower vs. zero-turn
- Exact belt profile and length
A mower deck belt is not the same as a generic automotive V-belt. Deck belts are built for clutching, backside idler contact, and shock loads. Match the part number first, then confirm length and width if needed.
Remove the Belt Safely and Without Damaging Components
Safety comes first. Before working under or around the deck:
- Park on a flat surface
- Set the parking brake
- Shut off the engine
- Remove the key
- Disconnect the spark plug wire(s) or battery negative cable, depending on the machine
- Let all moving parts stop completely
If you’re removing the deck, lower it fully first, then follow the machine’s deck-removal steps. Many riding mowers allow easier belt replacement with the deck off the machine, especially if access to the engine pulley is tight. Some zero-turns offer enough top-side access to change the belt with the deck installed, but don’t force it if visibility is poor.
Relieve belt tension by moving the spring-loaded idler arm with the proper tool. Many setups have a square hole for a breaker bar or a designated wrench point. Don’t pry against belt guards or pulley edges—they bend easily.
Once tension is off:
- Slip the belt off the easiest accessible pulley first, usually an idler.
- Remove it from the spindle pulleys and engine or deck-drive pulley.
- Pay attention to belt keepers and guide tabs as you pull it out.
- Compare the old belt to the new one side by side.
A useful parts-counter check: if the old belt is visibly longer, narrower, or sits differently in the pulley groove than the new belt, the old one may have been incorrect or stretched. Don’t assume the removed belt was the right one just because it fit.
Route the New Belt Correctly on Riding Mowers and Zero-Turns
Correct routing matters as much as correct belt size. A deck belt typically runs with the V side in V-groove pulleys and the flat backside against flat idlers or backside idlers. If that relationship is wrong anywhere in the system, the belt will wear fast or throw off.
For most applications:
- Start by wrapping the belt around the spindle pulleys according to the routing diagram
- Route it through all belt keepers exactly as designed
- Make sure the belt is fully seated in every pulley groove
- Leave the easiest pulley or tensioner area for last
- Relieve the idler spring again and slip the belt into place
On riding mowers, pay close attention to the path from the deck to the engine pulley when reinstalling the deck. It’s common to misroute the belt outside a keeper rod near the engine pulley or clutch.
On zero-turns, check that the belt is not twisted and that it tracks cleanly across all idlers with the deck set at the normal cutting height. Some zero-turn decks have belt paths that change slightly through the lift range, so improper routing may only show up once the deck is raised or lowered.
Before applying full tension, inspect these points:
- Belt centered in every pulley
- No contact with guards except where designed
- Keeper clearance close, but not rubbing during normal operation
- Idler arm moving smoothly through its range
Check Tension, Tracking, and Part Verification Before Mowing
Once installed, the belt should have firm spring tension and should not feel sloppy on the pulleys. Most deck systems use an automatic spring tensioner, so there’s no manual adjustment beyond confirming the spring, idler arm, and stops are working correctly.
If the belt seems loose after installation, check:
- Wrong belt length
- Weak or stretched idler spring
- Worn idler arm pivot
- Incorrect routing
- Belt sitting outside a keeper or pulley groove
Now verify the part one last time. The best method is to match the mower’s model and serial number to the correct OEM or exact-fit replacement part number. If you’re measuring, remember that mower belts are specified by more than outside length—top width, angle/profile, and construction all matter.
Run the machine briefly at low throttle first, with the deck engaged only if it’s safe to observe operation. Watch for:
- Squeal at startup
- Belt flutter
- Walking out of a pulley groove
- Smoke or rubber dust
- Vibration from an idler or spindle
After a short test run, shut the machine down and recheck belt seating. A properly installed deck belt should track evenly, engage cleanly, and maintain blade speed in thick grass without slipping.
FAQ
How do I know if I have the wrong mower deck belt?
Common clues are poor tension, belt roll-off, squealing, and the belt riding too high or too deep in the pulley. Even if the length seems close, the wrong width or profile can cause problems. Always verify by model and OEM part number when possible.
Can I use a standard hardware-store V-belt on a mower deck?
Usually no. Mower deck belts are designed for outdoor power equipment use, including backside idlers, clutch engagement, and shock loads. A general-purpose V-belt often fails early or won’t track correctly.
Should I replace idler pulleys or springs at the same time?
If the pulley bearing is noisy, rough, or loose, replace it now. If the tension spring looks stretched or weak, replace that too. A new belt installed on worn tension components won’t deliver full service life.

Find the right part on Amazon
Check price, stock and fitment — ships direct from Amazon.
§ Catalog
Shop the catalog