§ Journal · May 28, 2026
STIHL: STIHL String C 25-2 Trimmer Head Replacement
Step-by-step guide for STIHL owners — with video walkthrough.
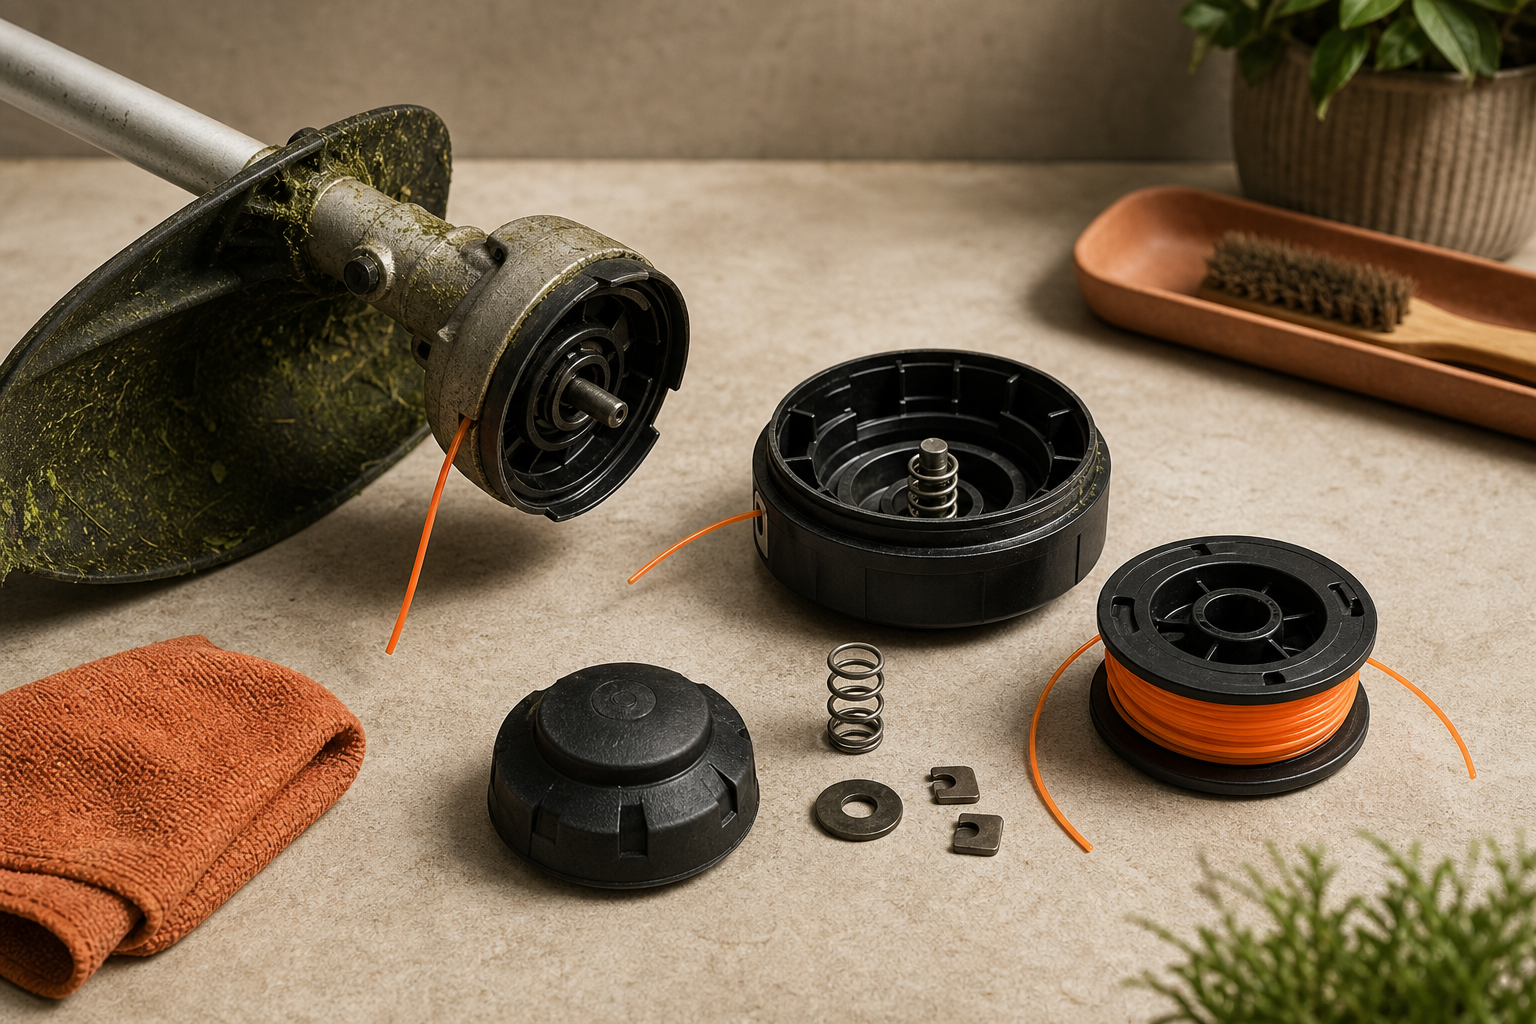
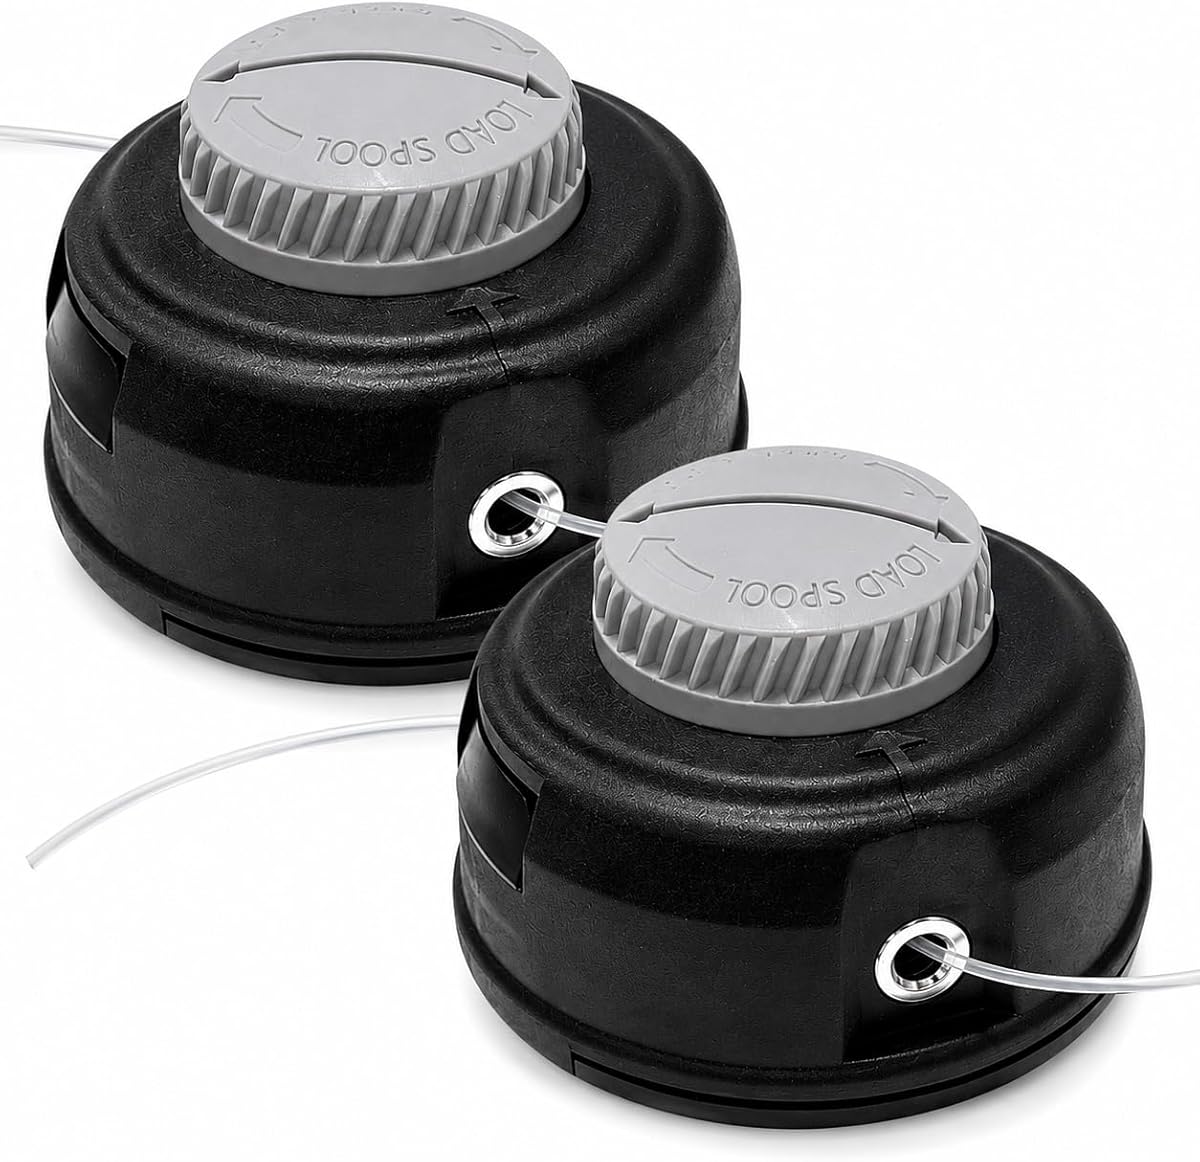
If your STIHL trimmer head is worn, cracked, or no longer feeding line correctly, replacing it is usually a quick job you can handle at home. The STIHL AutoCut C 25-2 head is a common bump-feed trimmer head used on many straight-shaft STIHL trimmers, and swapping it out takes only a few basic tools and a few minutes of careful work. In this guide, we’ll walk through how to remove the old head, install the replacement, and check that everything is ready to cut safely. If you need a new trimmer head, spool, cap, or other compatible replacement parts, you can find them on our site.
Tools and parts you’ll need
Before you begin, gather everything so the job goes smoothly:
- Replacement STIHL AutoCut C 25-2 trimmer head or compatible replacement
- Work gloves
- Safety glasses
- Clean rag
- Locking pin, drift pin, or suitable screwdriver/rod to lock the gearbox shaft
- Adjustable wrench or pliers, if needed for stubborn parts
- Owner’s manual for your specific STIHL trimmer model
A quick note on compatibility: the C 25-2 head fits many STIHL trimmers, but not every unit uses the same head or mounting hardware. Always confirm fitment by your model number before ordering parts. Our site carries compatible replacement parts to help you match the correct head, spool, and accessories for your machine.
Prepare the trimmer for safe service
Start with safety and setup. You don’t want the unit accidentally starting or the head spinning while you work.
-
Shut the engine off completely.
If you’ve just been trimming, let the machine cool down before handling the cutting head area. -
Disconnect the spark plug boot.
On a gas-powered STIHL trimmer, pull the spark plug wire off the plug to prevent accidental starting. -
Set the trimmer on a stable surface.
Lay it down with the cutting head easy to access. A bench works well, but the ground is fine if the machine is stable. -
Clean the gear head area.
Wipe away grass, dirt, and wrapped debris from around the trimmer head and gearbox. This makes it easier to see the mounting point and helps the new head seat properly. -
Identify the shaft locking hole.
Most STIHL gear heads have a small hole where you can insert a locking pin or similar tool to hold the shaft in place while removing the head.
This prep step is simple, but it saves time and reduces the chance of cross-threading or installing the new head incorrectly.
Remove the old STIHL C 25-2 trimmer head
Once the machine is secure, you can remove the existing head.
-
Insert the locking pin.
Rotate the trimmer head by hand until the hole in the thrust plate or shaft lines up with the locking hole on the gearbox. Insert your pin or screwdriver until the shaft is locked and cannot rotate. -
Turn the trimmer head off the shaft.
On many STIHL trimmers, the trimmer head uses a left-hand thread, which means removal is often the opposite of what people expect. In many cases, you’ll turn the head clockwise to loosen it. If you feel strong resistance, stop and verify your model’s thread direction in the owner’s manual. -
Remove the head and inspect the mounting parts.
Once the head unthreads, take note of any washers, thrust plates, or mounting hardware that remain on the shaft. These parts must stay in the correct order for the new head to run true. -
Check for wear or damage.
Inspect the shaft threads, thrust plate, and gearbox output area. If threads are damaged or hardware is badly worn, replacing only the head may not solve the problem. -
Clear wrapped line or debris.
Sometimes old line, weeds, or string fragments wind tightly around the shaft. Remove any buildup before installing the replacement.
If the old head is stuck, avoid forcing it too aggressively with large pliers. Excessive force can damage the head, shaft, or gearbox. Recheck that the shaft is fully locked and that you’re turning the head in the correct direction.
Install the new C 25-2 replacement head
With the old head removed, installation is straightforward.
-
Verify the new part matches the old one.
Compare the replacement head to the original. Check overall size, thread style, and mounting depth. A quick side-by-side comparison can prevent a frustrating fitment issue. -
Position any required hardware correctly.
If your unit uses a thrust plate or support washer beneath the trimmer head, make sure it is clean and seated properly before threading on the new head. -
Thread the new head onto the shaft by hand.
Start the new C 25-2 head carefully to avoid cross-threading. Because many STIHL heads use left-hand threads, you’ll typically tighten by turning counterclockwise. Thread it on smoothly by hand first—if it binds immediately, back it off and start again. -
Lock the shaft again if needed.
Insert the locking pin to hold the shaft while you snug the head in place. -
Tighten securely, but don’t overdo it.
The head should be seated firmly. You usually do not need extreme force. Over-tightening can make future service harder and may stress the mounting components. -
Reload line if the head does not come pre-loaded.
If your replacement head is empty, install the correct diameter and length of line recommended for your STIHL model and the C 25-2 head.
This is also a good time to replace worn spools, caps, or line if they’re near the end of their service life. Compatible replacement parts are available on our site if you want to refresh the whole cutting setup at once.
Test the trimmer head before use
Before heading back to the yard, do a quick inspection and test run.
-
Spin the head by hand.
It should rotate evenly without wobbling. A wobble may indicate incorrect hardware placement or a head that isn’t threaded on fully. -
Reconnect the spark plug boot.
-
Start the trimmer in a safe open area.
Let it idle first and watch for unusual vibration. -
Bring the engine up to operating speed briefly.
Make sure the head runs smoothly and the line feeds normally if you tap the head according to the design. -
Shut it down and recheck tightness if needed.
If anything feels loose or sounds off, stop and inspect before continuing.
A smooth-running head with proper line feed usually means the installation is complete and ready for normal trimming.
Watch the video
If you’d like a visual overview of the replacement process, watch the embedded STIHL tutorial below:
The video is a helpful companion to this guide, especially for identifying the shaft locking point and seeing how the C 25-2 head mounts on the gearbox.
FAQ
How do I know if my STIHL trimmer uses the C 25-2 head?
Check your trimmer model number and consult your owner’s manual or parts diagram. Many STIHL straight-shaft trimmers use this style of head, but fitment can vary by model and shaft setup. Our site offers compatible replacement parts so you can confirm the correct match before ordering.
Why won’t my old trimmer head come off?
The most common issues are not locking the shaft fully or turning the head the wrong direction. Many STIHL trimmer heads use left-hand threads, so removal direction can feel backwards. Dirt, corrosion, or wrapped line around the shaft can also make removal harder.
Can I replace just the spool instead of the whole trimmer head?
Yes, if the housing and internal parts are still in good shape, replacing only the spool or line may be enough. But if the head is cracked, worn, or feeding poorly even after reloading, replacing the complete C 25-2 head is usually the better long-term fix.
§ Catalog
Shop the catalog