§ Journal · May 28, 2026
Ryobi: Ryobi String Trimmer Head Replacement 311759014
Step-by-step guide for Ryobi owners — with video walkthrough.
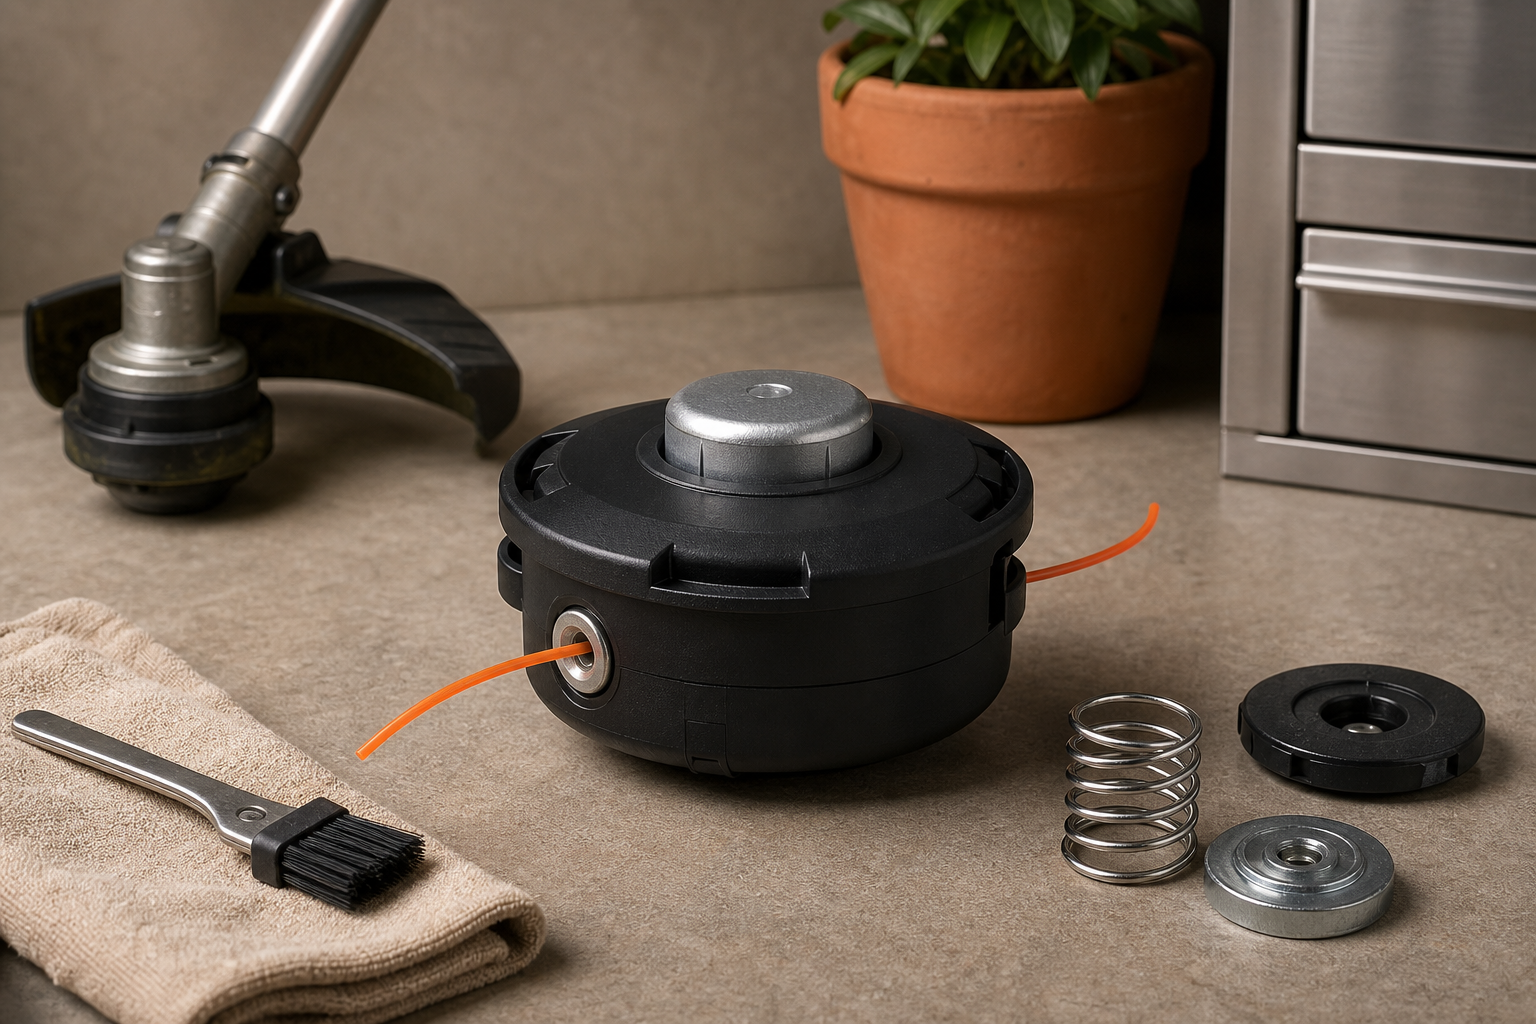
If your Ryobi string trimmer head is cracked, worn out, feeding line poorly, or simply no longer worth rebuilding, replacing the head is usually a quick repair you can handle at home. The Ryobi replacement head 311759014 is a common fitment on select Ryobi trimmers, and swapping it out can restore clean cutting performance in just a few minutes. The key is working safely, confirming compatibility, and removing the old head without damaging the shaft or gearbox. If you need a new trimmer head or related service parts, compatible replacement parts are available on our site.
Tools and parts you’ll need
Before you start, gather everything so the job goes smoothly:
- Ryobi replacement trimmer head, part 311759014
- Work gloves
- Safety glasses
- Clean rag
- Needle-nose pliers, if needed
- Locking pin or small screwdriver/rod to lock the shaft, depending on your model
- Socket, wrench, or adjustable pliers, depending on the attachment style
- Owner’s manual for your exact trimmer model, if available
A quick note on compatibility: Ryobi used several different head and arbor setups across gas, corded, and battery-powered units. Always match the replacement part to your exact model number before installing. Our site carries compatible Ryobi replacement parts to help you get the correct fit the first time.
Prepare the trimmer and confirm the head type
Start with safety first.
If you have a battery-powered Ryobi trimmer, remove the battery pack completely. For a gas model, shut the engine off, let it cool, and disconnect the spark plug wire. For corded units, unplug the extension cord. Never work on the trimmer head with a power source connected.
Next, set the trimmer on a stable work surface or lay it on the ground with the head easy to access. Wipe away heavy grass buildup so you can clearly see the spool housing, arbor, and any retaining hardware.
Now inspect the existing head. On many Ryobi string trimmers, the head threads directly onto the shaft and may use a left-hand thread. That means it loosens in the opposite direction of normal hardware. Other versions may use a retainer, cap, or adapter arrangement. The replacement head 311759014 is typically designed as an assembly replacement, so you want to verify that the mounting style on your trimmer matches the new part.
Look for a small hole in the gearbox or shaft housing near the head. This is usually where you insert a locking pin, Allen key, or small screwdriver to hold the shaft still while removing the old head. Rotate the head by hand until the internal shaft lines up and the pin slips in fully.
If the old head is badly damaged and the spool is missing, don’t worry. As long as you can lock the shaft and access the mounting point, the head can still be removed.
Remove the old trimmer head
With the shaft locked, grip the old trimmer head firmly. Try turning it in the loosening direction for your model. On many Ryobi trimmers, the head removes by turning clockwise because of the left-hand thread design. If it does not move easily, stop and confirm the thread direction before forcing it.
If the head is stuck from dirt or thread wear:
- Clean around the arbor with a rag.
- Apply steady pressure rather than jerking it loose.
- Use pliers carefully on the old head only if you are replacing it anyway.
- Avoid crushing the gearbox housing or bending the shaft.
Once the head breaks free, continue unthreading it by hand. Remove any spacers, washers, adapters, or bushings that come off with it, and lay them out in order. Compare what came off the machine to the new 311759014 head assembly. Some replacement kits are complete; others reuse certain original mounting pieces.
Before installing the new head, inspect the shaft threads. If they are packed with debris, clean them with a rag. If you see severe thread damage, wobble in the shaft, or oil leakage from the gearbox area, address that issue before installing the new head. A fresh head won’t perform properly if the underlying drive components are worn.
Install the Ryobi 311759014 replacement head
Take the new head out of the package and compare it side-by-side with the old one. Check:
- Overall diameter
- Mounting depth
- Thread style
- Arbor opening
- Bump knob or fixed-head design
- Directional markings, if present
If your trimmer uses reused hardware such as a washer or adapter, install those pieces exactly as they were removed.
Thread the new 311759014 head onto the shaft by hand first. This is important. Hand-threading helps prevent cross-threading, which can ruin both the new head and the shaft. It should spin on smoothly with minimal resistance. If it binds immediately, back it off and realign it.
Once the head is fully seated, reinsert the shaft-locking pin if needed and snug the head securely. It should be tight enough that it won’t loosen during operation, but there’s no need to overtighten with excessive force.
If the replacement head comes preloaded with line, check that the line ends are evenly extended and routed correctly through the eyelets. If line needs to be installed separately, wind the correct diameter trimmer line according to the head’s design and your trimmer specifications. Using oversized line can strain the motor, while undersized line may feed poorly or wear too quickly.
Give the head a quick manual spin to make sure it turns true without wobbling. A slight movement in some head designs can be normal, but obvious wobble usually means the part isn’t seated correctly or the wrong hardware stack-up was used.
Test operation and check for proper line feed
Reconnect the power source: reinstall the battery, reconnect the spark plug wire, or plug the trimmer back in. Move to a clear outdoor area away from people, pets, and loose debris.
Start the trimmer and let it idle or come up to speed briefly. Watch for:
- Excessive vibration
- Wobble in the head
- Unusual noise
- Poor line retention
- Difficulty feeding line
If the trimmer runs smoothly, test the head in light grass first. On bump-feed models, tap the head lightly on the ground while running at operating speed to confirm the line advances correctly. Don’t slam the head down; a light bump is usually all that’s needed.
If line does not feed properly, shut the unit off and inspect:
- Whether the spool is wound in the correct direction
- Whether the line is the proper diameter
- Whether the eyelets are damaged
- Whether the spool cap is fully seated
If the trimmer vibrates after installation, remove the head and recheck the fitment. Vibration often points to the wrong head, missing adapter hardware, or a bent shaft. This is a good time to replace worn spool caps, springs, and line as needed. Compatible Ryobi maintenance and replacement parts are available on our site if you want to refresh the full head assembly at once.
Watch the video
If you’d like a visual walkthrough of the process, watch the embedded tutorial below:
The video is a helpful reference for seeing how a Ryobi string trimmer head replacement is handled, especially when locating the shaft lock and removing the old head. Use it alongside your model’s manual and the part fitment information for the most accurate result.
FAQ
Will part 311759014 fit every Ryobi string trimmer?
No. Ryobi has used multiple head styles and mounting systems across different models. Always verify your exact model number and part compatibility before ordering.
Why won’t my old trimmer head loosen?
Many Ryobi trimmer heads use reverse, or left-hand, threads. That means the loosening direction may be the opposite of what you expect. Lock the shaft first and confirm thread direction before applying extra force.
Can I replace just the spool instead of the whole head?
In some cases, yes. If the housing is still in good shape, a spool or cap may be enough. But if the head body is cracked, heavily worn, or feeding line inconsistently, replacing the complete head assembly is often the better long-term repair.
§ Catalog
Shop the catalog