§ Journal · May 28, 2026
Craftsman: How to Restring a Craftsman String Trimmer Step by Step
Step-by-step guide for Craftsman owners — with video walkthrough.
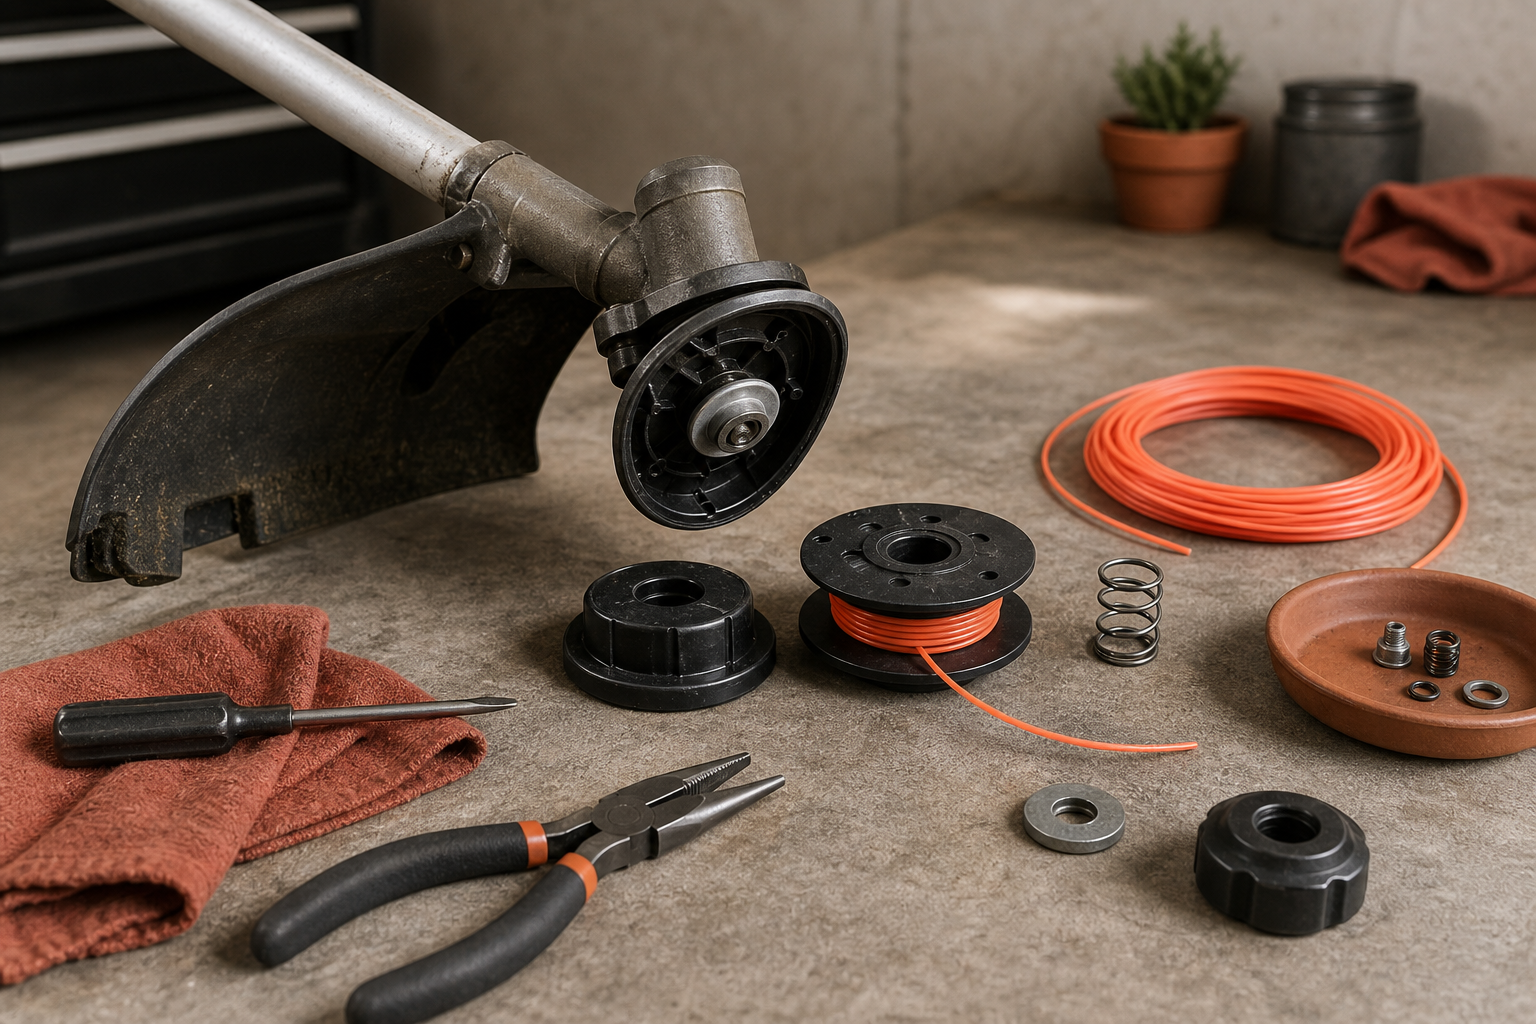
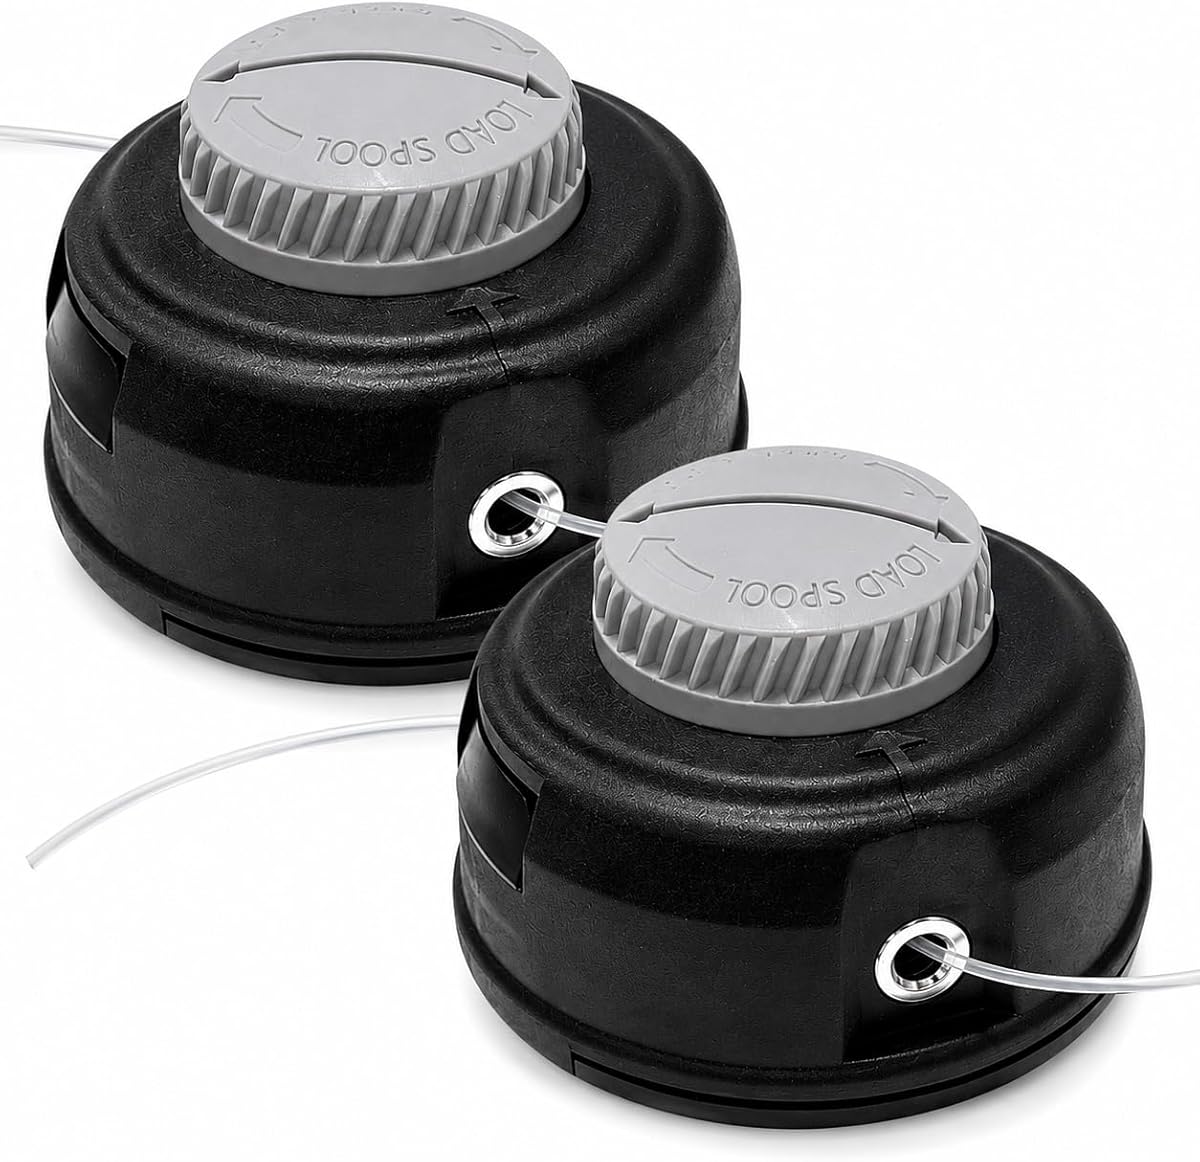
If your Craftsman string trimmer has stopped feeding line properly, or the cutting line has worn down to nothing, restringing the head is usually a quick fix you can handle in a few minutes. The key is using the right diameter trimmer line, winding it in the correct direction, and loading the spool neatly so it feeds smoothly. Below, we’ll walk through a practical step-by-step process that works for many Craftsman string trimmer heads, including common bump-feed styles. If you need replacement spool caps, springs, pre-cut line, or complete trimmer head parts, compatible replacement parts are available on our site.
Tools and parts you’ll need
Before you start, gather everything so the job goes smoothly:
- Replacement trimmer line in the correct diameter for your Craftsman model
- Common sizes are .065”, .080”, or .095”
- Owner’s manual or model number for line-size confirmation
- Scissors or side cutters
- Work gloves
- Clean rag
- Small flat screwdriver, if your spool cover is stubborn
- Optional: pre-wound spool or a complete replacement spool assembly
A quick note on line selection: always match the line diameter to what your trimmer head is designed to handle. Line that’s too thick may jam the spool or strain the head. Line that’s too thin can break too easily and feed poorly.
Remove the spool and inspect the trimmer head
Start with safety first:
-
Turn the trimmer off completely.
If it’s a gas model, shut it down and let it cool. If it’s corded or battery-powered, unplug it or remove the battery. -
Set the trimmer on a stable work surface.
Laying it flat makes it easier to access the head and keep parts from falling. -
Remove the spool cap.
Most Craftsman trimmer heads use side tabs you press inward while pulling the cap off. On some models, you may need to twist the cap slightly. If dirt has packed around the cap, wipe it clean first. -
Lift out the spool.
Pay attention to how it sits inside the head. If there’s a spring underneath, don’t lose it. -
Inspect the spool, cap, and housing.
Look for:- Cracks in the spool
- Worn or broken retaining tabs
- A weak or missing spring
- Heavy grass buildup
- Worn eyelets where the line exits
If any of those parts are damaged, restringing alone may not solve the problem. In that case, it’s a good idea to replace the worn components. We carry compatible Craftsman trimmer head parts and spool assemblies on our site to help restore proper feeding.
Measure and prepare the new trimmer line
Getting the line length right helps the spool wind evenly and prevents binding.
-
Check your trimmer’s recommended line length.
Many Craftsman heads take roughly 10 to 20 feet total, depending on the spool design. Dual-line heads usually split that amount across two channels. -
Cut the line cleanly.
Use scissors or cutters to avoid frayed ends. A clean-cut end is easier to thread through the anchor hole or slot. -
Straighten the line if needed.
If the line has a lot of curl from the package, pull it straight by hand before winding. Straighter line loads more evenly. -
Identify whether your spool is single-line or dual-line.
- Single-line spool: one chamber, one winding path
- Dual-line spool: two sections or channels, usually for two separate line ends
Some Craftsman spools have arrows molded into the plastic showing the correct winding direction. Follow those arrows exactly. Winding backwards is one of the most common reasons a trimmer head won’t feed line correctly.
Wind the spool the right way
This is the step that matters most. Neat, even winding makes all the difference.
-
Insert the line into the anchor hole or retaining slot.
Many Craftsman spools have a small hole near the center where you secure one end of the line before winding. -
Wind in the direction of the arrows.
Keep steady tension on the line as you wrap it. The line should lay side by side in neat rows, not crisscross all over the spool. -
Do not overfill the spool.
Leave enough room so the line can move and feed properly. An overpacked spool often jams inside the head. -
For dual-line spools, wind each side separately.
If your spool has two chambers:- Cut two equal lengths of line, or use one long length if the spool design allows it
- Anchor each line end in its proper section
- Wind each chamber evenly in the marked direction
-
Secure the loose ends temporarily.
Many spools have holding notches around the edge. Clip the line ends into these notches to keep them from unraveling while you reinstall the spool.
A good rule of thumb: if the spool looks messy or the wraps overlap heavily, unwind it and do it again. Taking an extra minute here saves frustration later.
Reinstall the spool and test the feed
Once the line is loaded, put everything back together carefully.
-
Thread the line ends through the eyelets in the trimmer head.
Feed each line end out through its matching hole in the housing. -
Set the spool back into the head.
Make sure it seats properly on the center post and over the spring, if equipped. -
Release the line from the holding notches.
Pull each line end gently so the spool settles into place and the line moves freely. -
Reinstall the spool cap.
Press it down until the tabs snap securely into position. Give it a light tug to confirm it’s locked on. -
Check line length.
Most trimmers can start with a few inches of line extending from each side. If the line is excessively long, trim it slightly. The trimmer’s line-cutoff blade on the guard will usually set final length during operation. -
Reconnect power and test the trimmer.
Reinstall the battery, plug it in, or prepare the gas unit for starting. Run the trimmer briefly and test the feed function according to your model:- Bump-feed head: tap the head lightly on the ground while running
- Fixed-line style: manually replace line segments as needed
- Auto-feed style: verify line advances when the trigger is cycled
If the line still won’t feed, remove the spool again and check for:
- Backwards winding
- Line crossed over itself
- Incorrect line diameter
- Debris packed inside the housing
- Damaged spool cap or spring
Watch the video
If you’d like a visual walkthrough, watch the embedded tutorial below:
The video is a helpful companion to the written steps above, especially if you want to see how a typical Craftsman spool comes apart and goes back together. Just remember that minor spool designs can vary by model, so always compare what you see to your specific trimmer head.
FAQ
What size trimmer line does my Craftsman string trimmer use?
It depends on the model. Many Craftsman trimmers use .065” or .080” line, while larger units may use .095”. Check the label on the trimmer, the owner’s manual, or the existing spool. Using the correct diameter is important for proper feeding and performance.
Why does my trimmer line keep getting stuck?
The most common causes are:
- Winding the line in the wrong direction
- Using too much line on the spool
- Using the wrong line diameter
- Letting the line overlap or cross while winding
- A worn spool, cap, or internal spring
If repeated restringing doesn’t fix the issue, replacing the spool components is often the best long-term solution. Compatible replacement parts are available on our site.
Can I use a pre-wound spool instead of winding my own line?
Yes, as long as it matches your Craftsman model. A pre-wound spool can save time and ensure proper line length and winding. If your original spool is damaged or badly worn, replacing the complete spool assembly may be even better.
§ Catalog
Shop the catalog